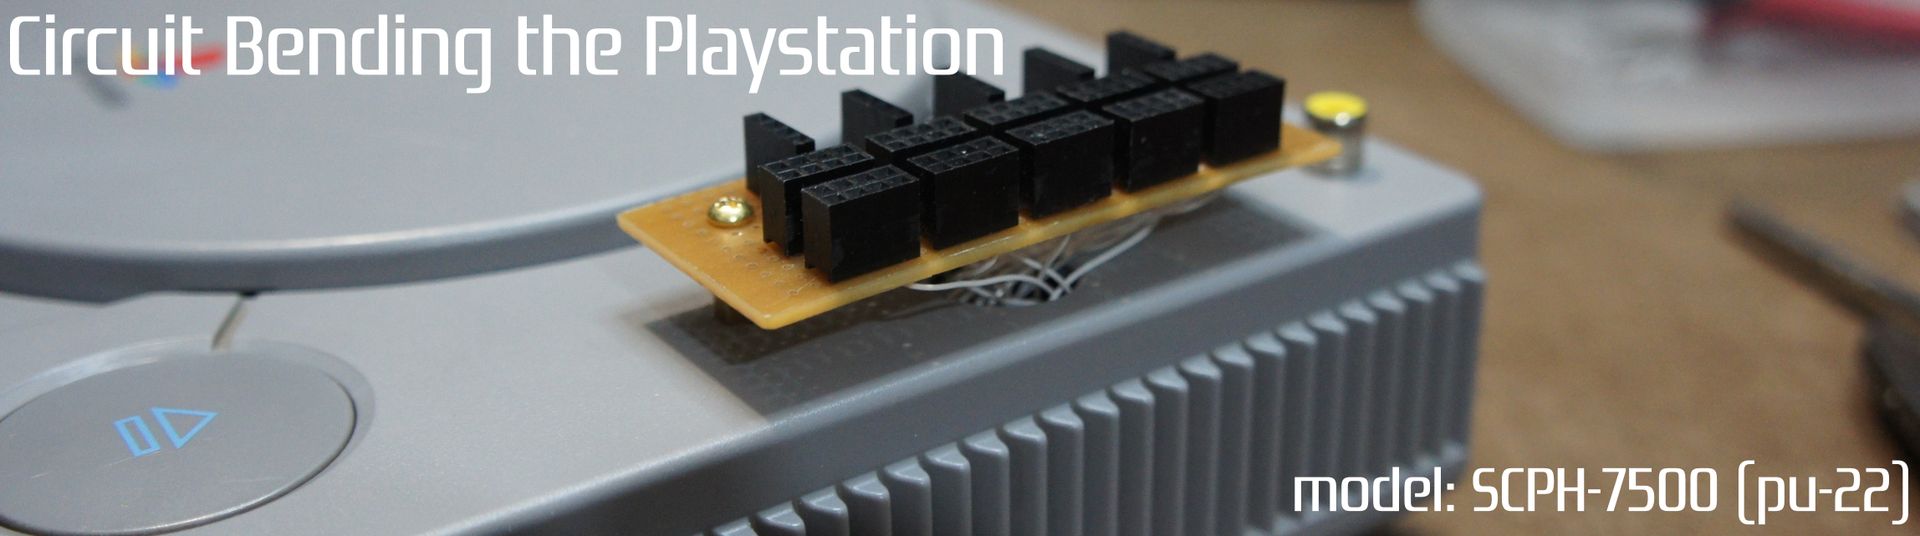
In this guide I will be showing you how to circuit bend the original PlayStation! This includes GPU bends as well as some SGRAM bends. This time around I opted to do a little patch bay that uses little breadboard wires to create patches, but you can just as easily wire this up to switches just like I have done in previous PlayStation builds.
The specific model I am covering is a SCPH-750X with a PU-22 motherboard inside. This is a common revision to come across and is very easy to work on!
Lets begin by disassembling the PlayStation, I wont cover this in detail as it is very strait forward and there are plenty of tutorials out there covering the process.
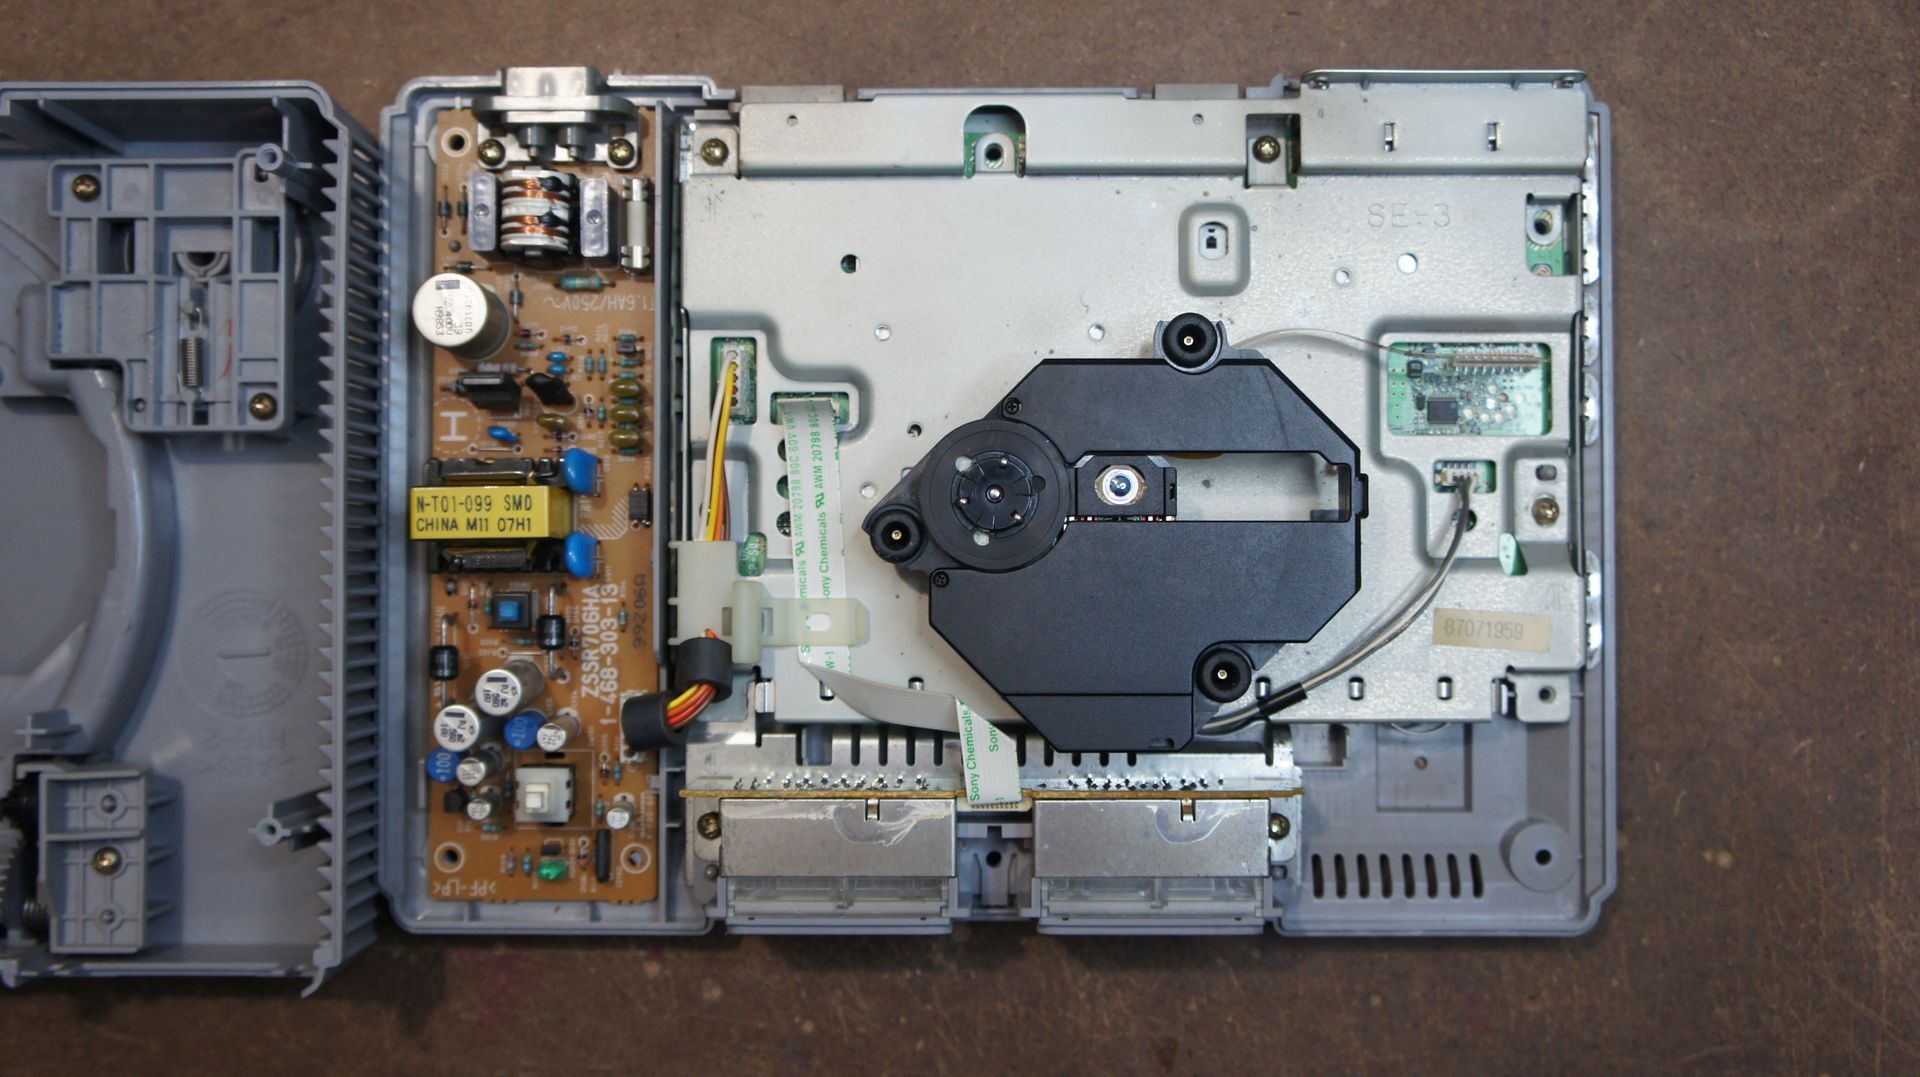
Once you have the PlayStation open remove the optical drive by unplugging the two cables and simply lifting it out.
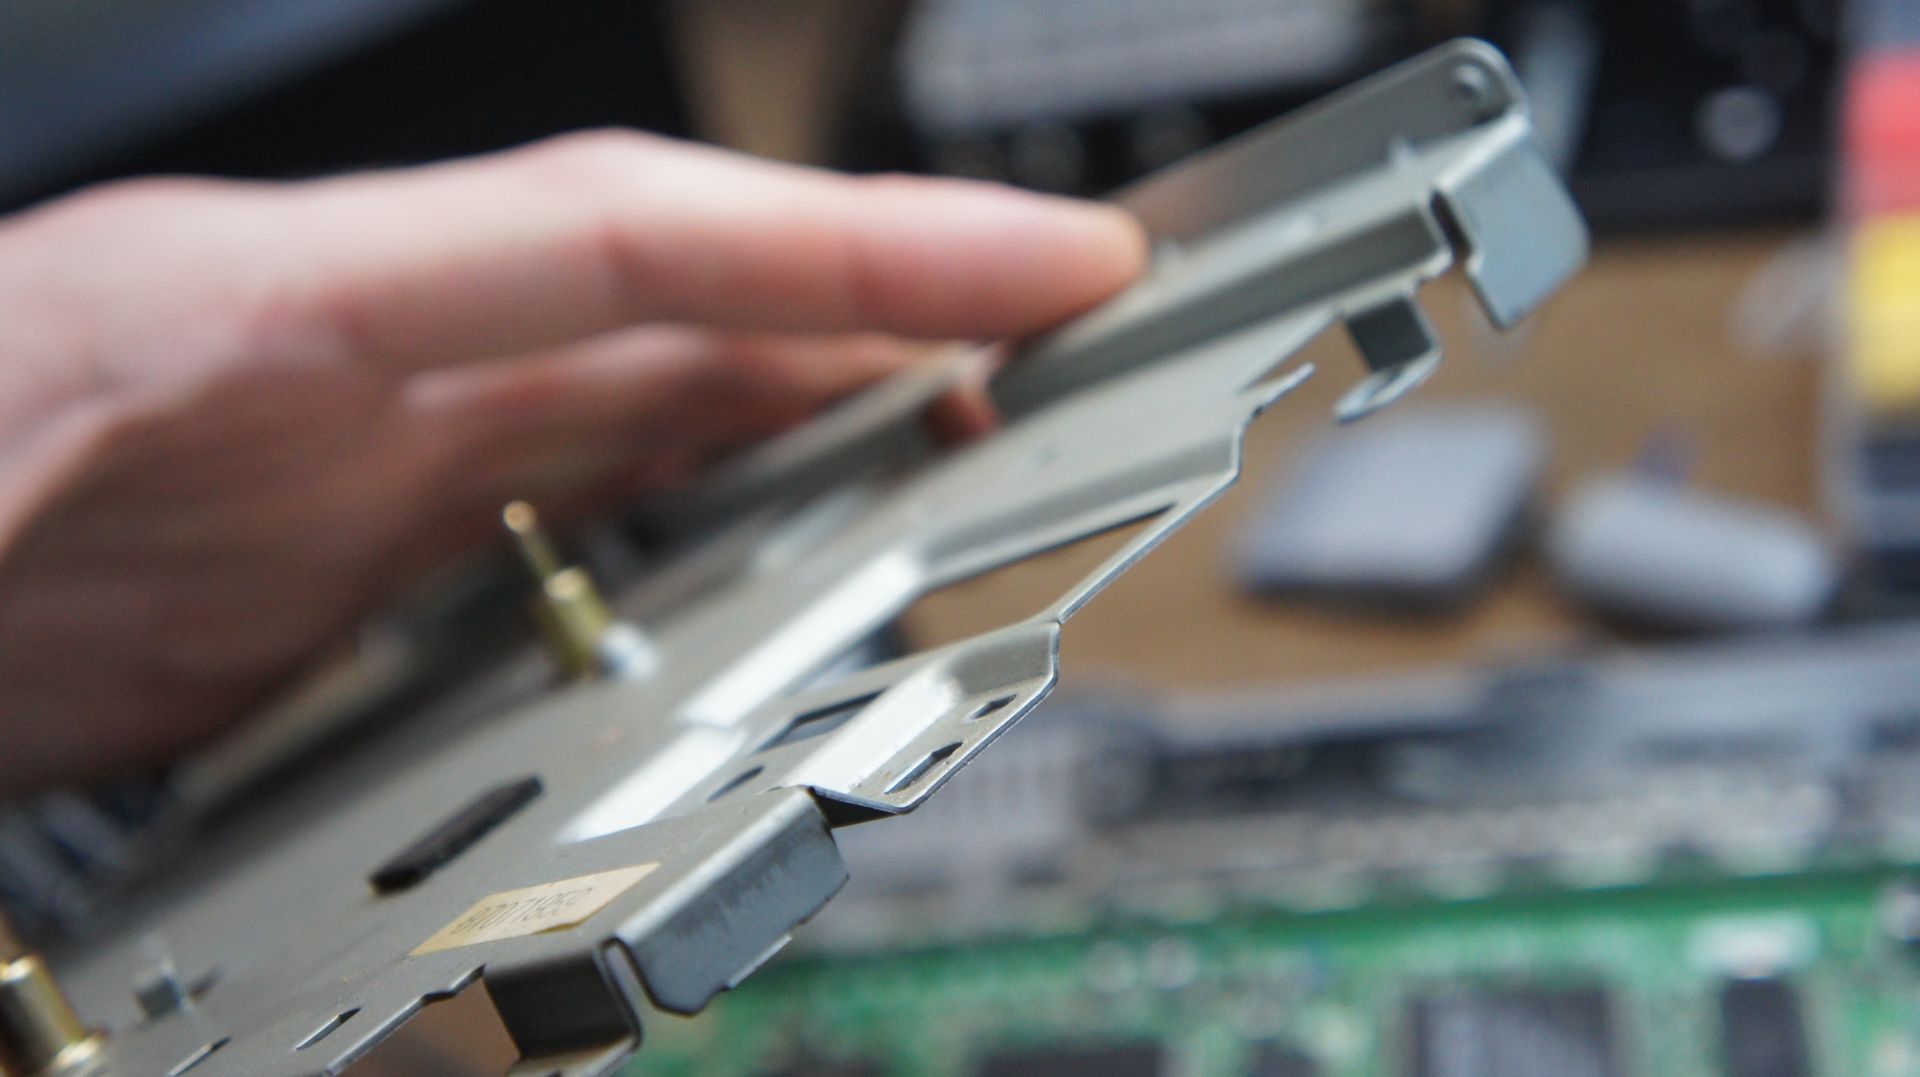
With the optical drive out of the way we need to remove this metal chassis. Do this by unplugging the cable running to the power supply and remove the screws holding it down
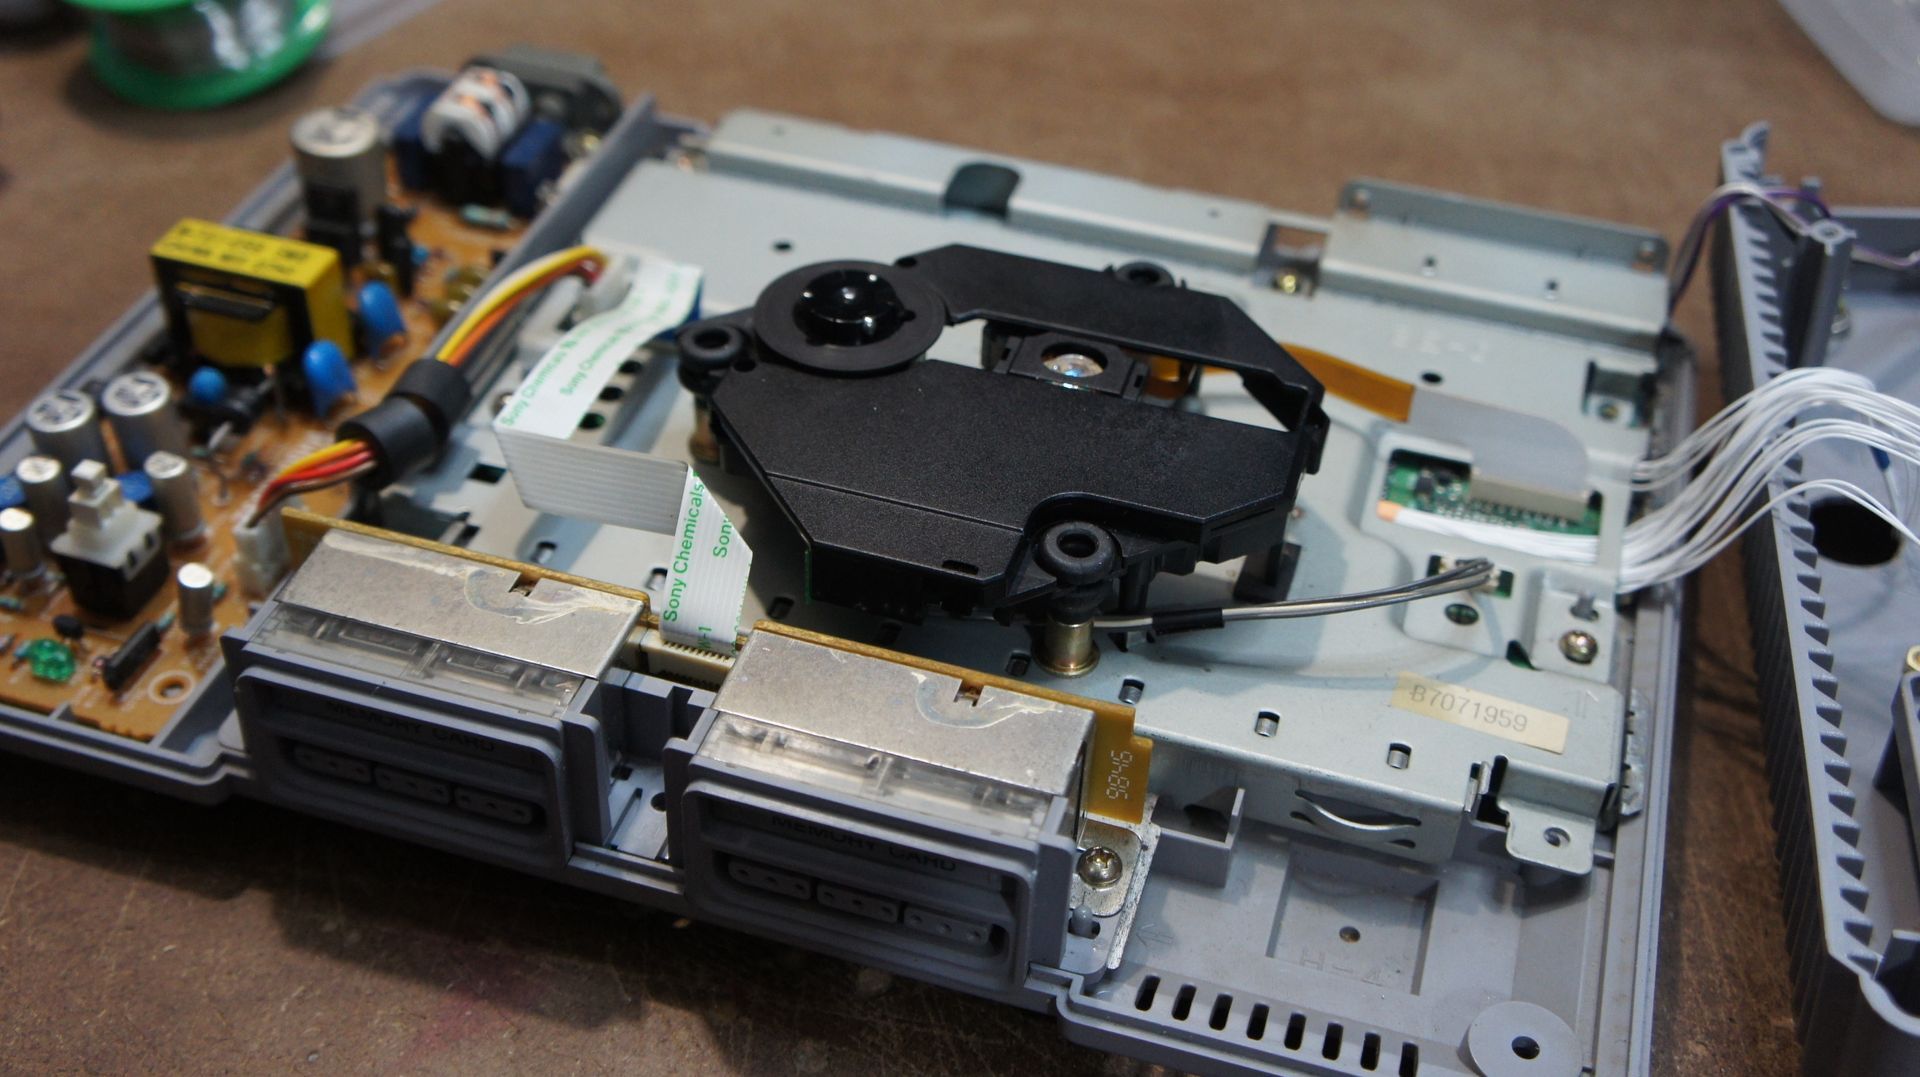
With the metal chassis removed we reveal another layer we need to remove as well as a little bit of console history.
What is that mass of black electrical tape wired into the motherboard? Those in the know will instantly recognise this but for those that dont this is a mod chip that a previous owner had installed into the board decades ago to bypass the copywrite and region protection code that was implemented to prevent piracy. I'll be removing this as it was a pretty rough install and I wont be needing it as there are better options for playing game backups these days such as the XStation available at the link here:
https://castlemaniagames.com/products/xstation
The next step is to remove the RF shielding to get to the solder points we are looking for. It is soldered in place by little tabs, just go around heating up each tab while gently lifting the shielding up with a screw driver un till they become detached. Dont do what the previous person did inside this console and fold it up like that as we will want to replace it once the wiring is done.

This step is optional:
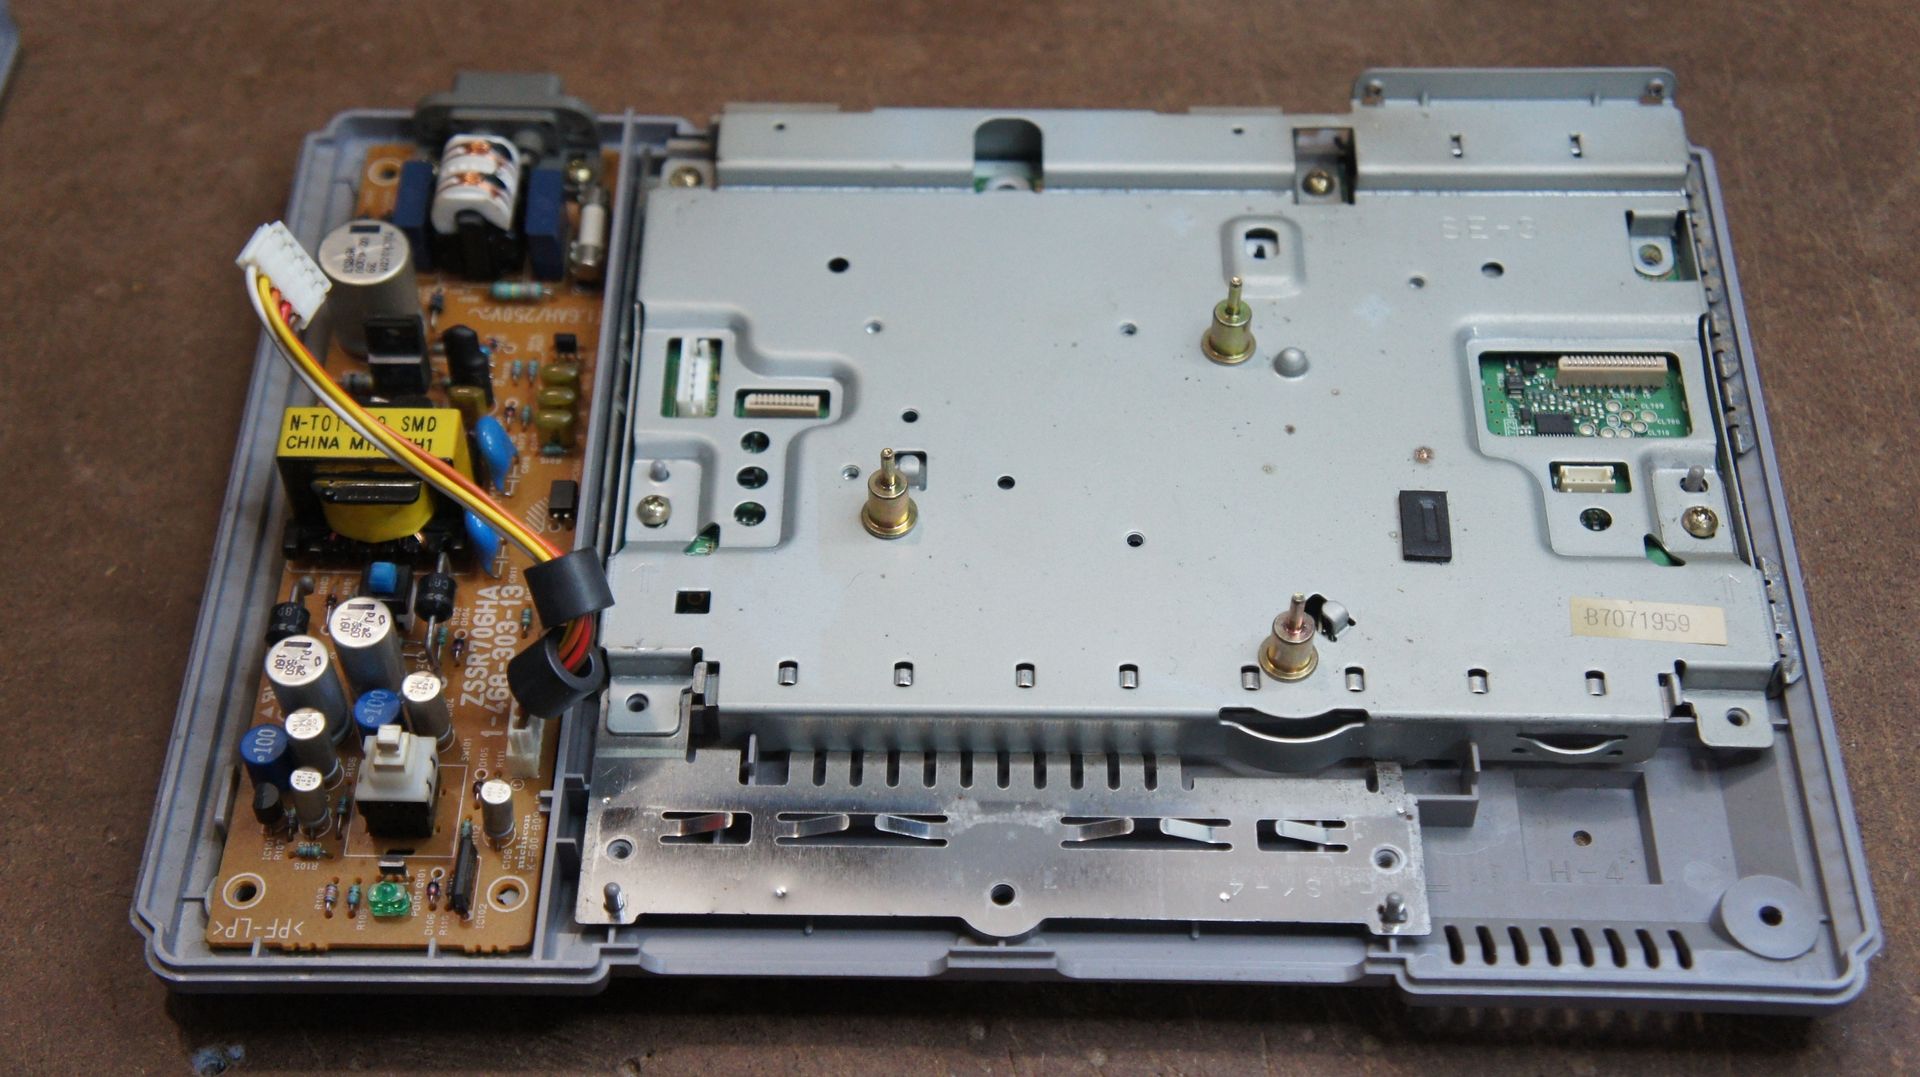
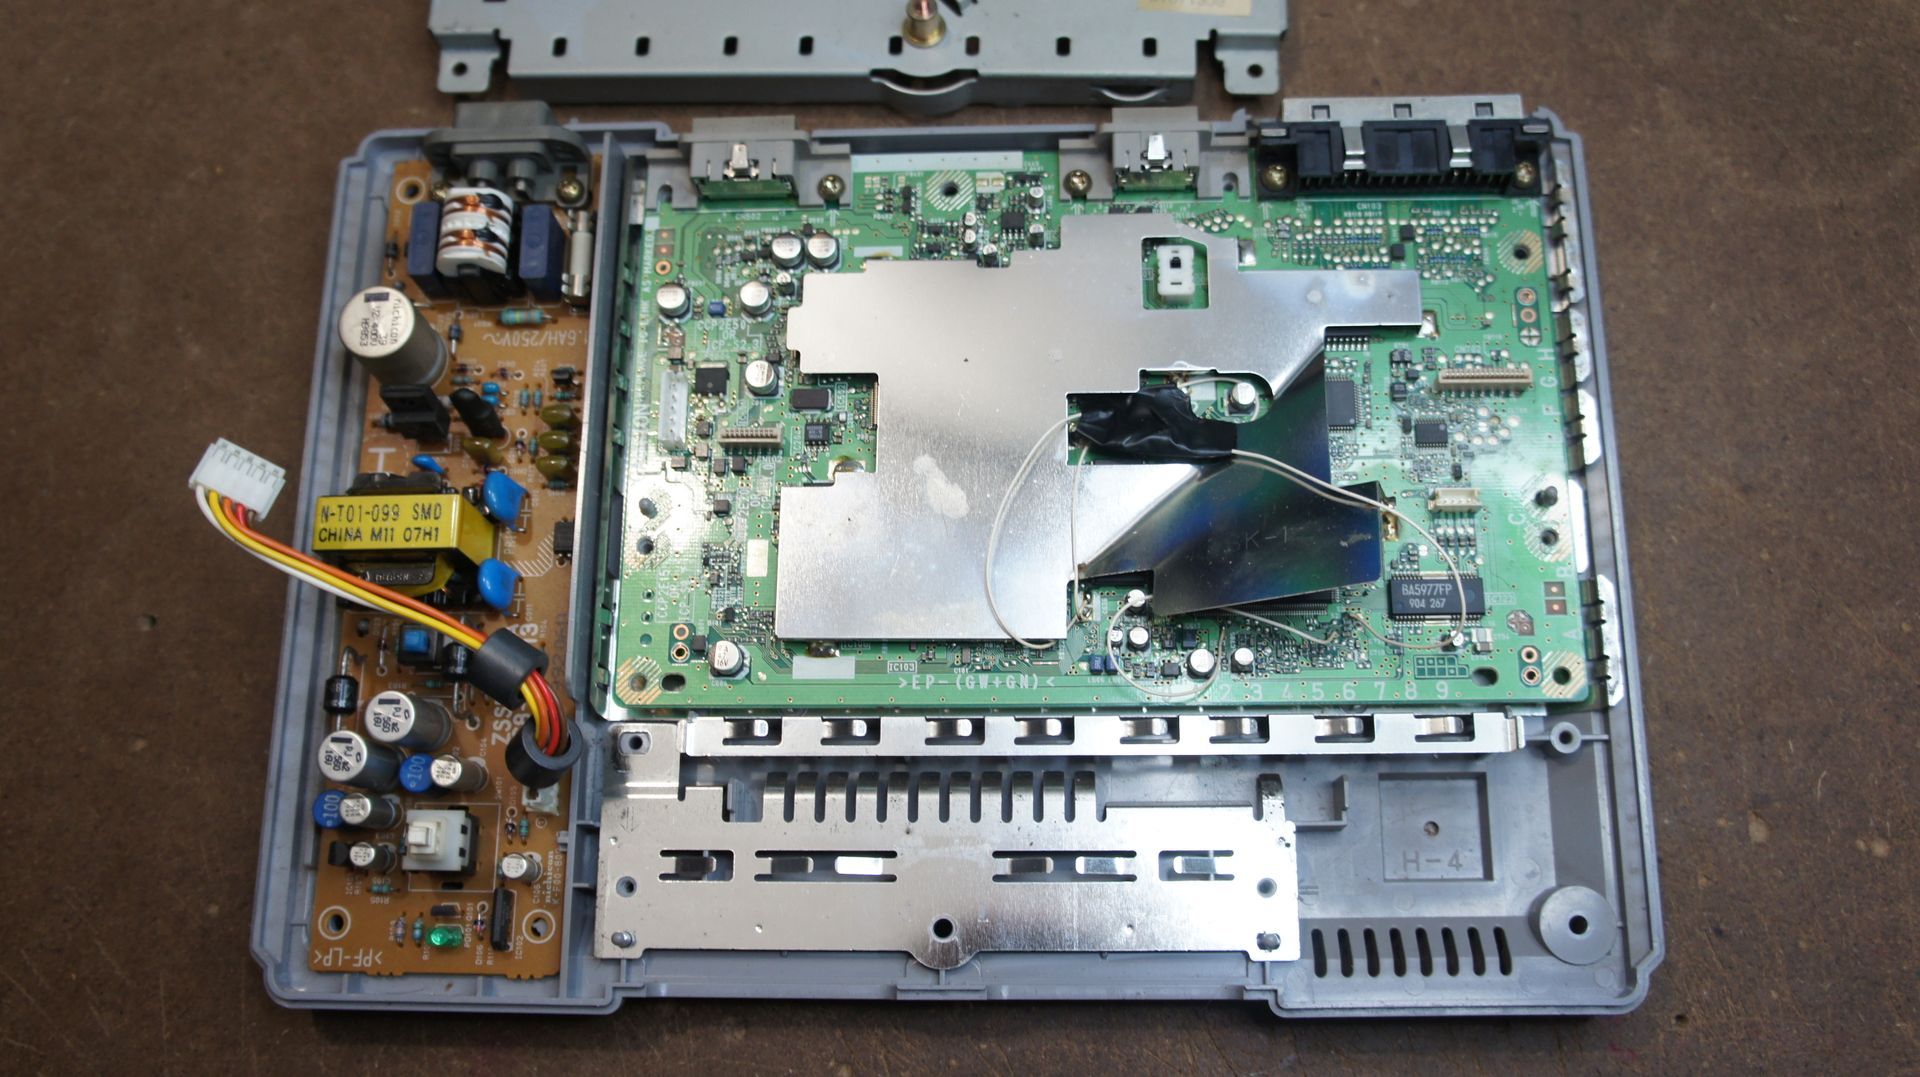
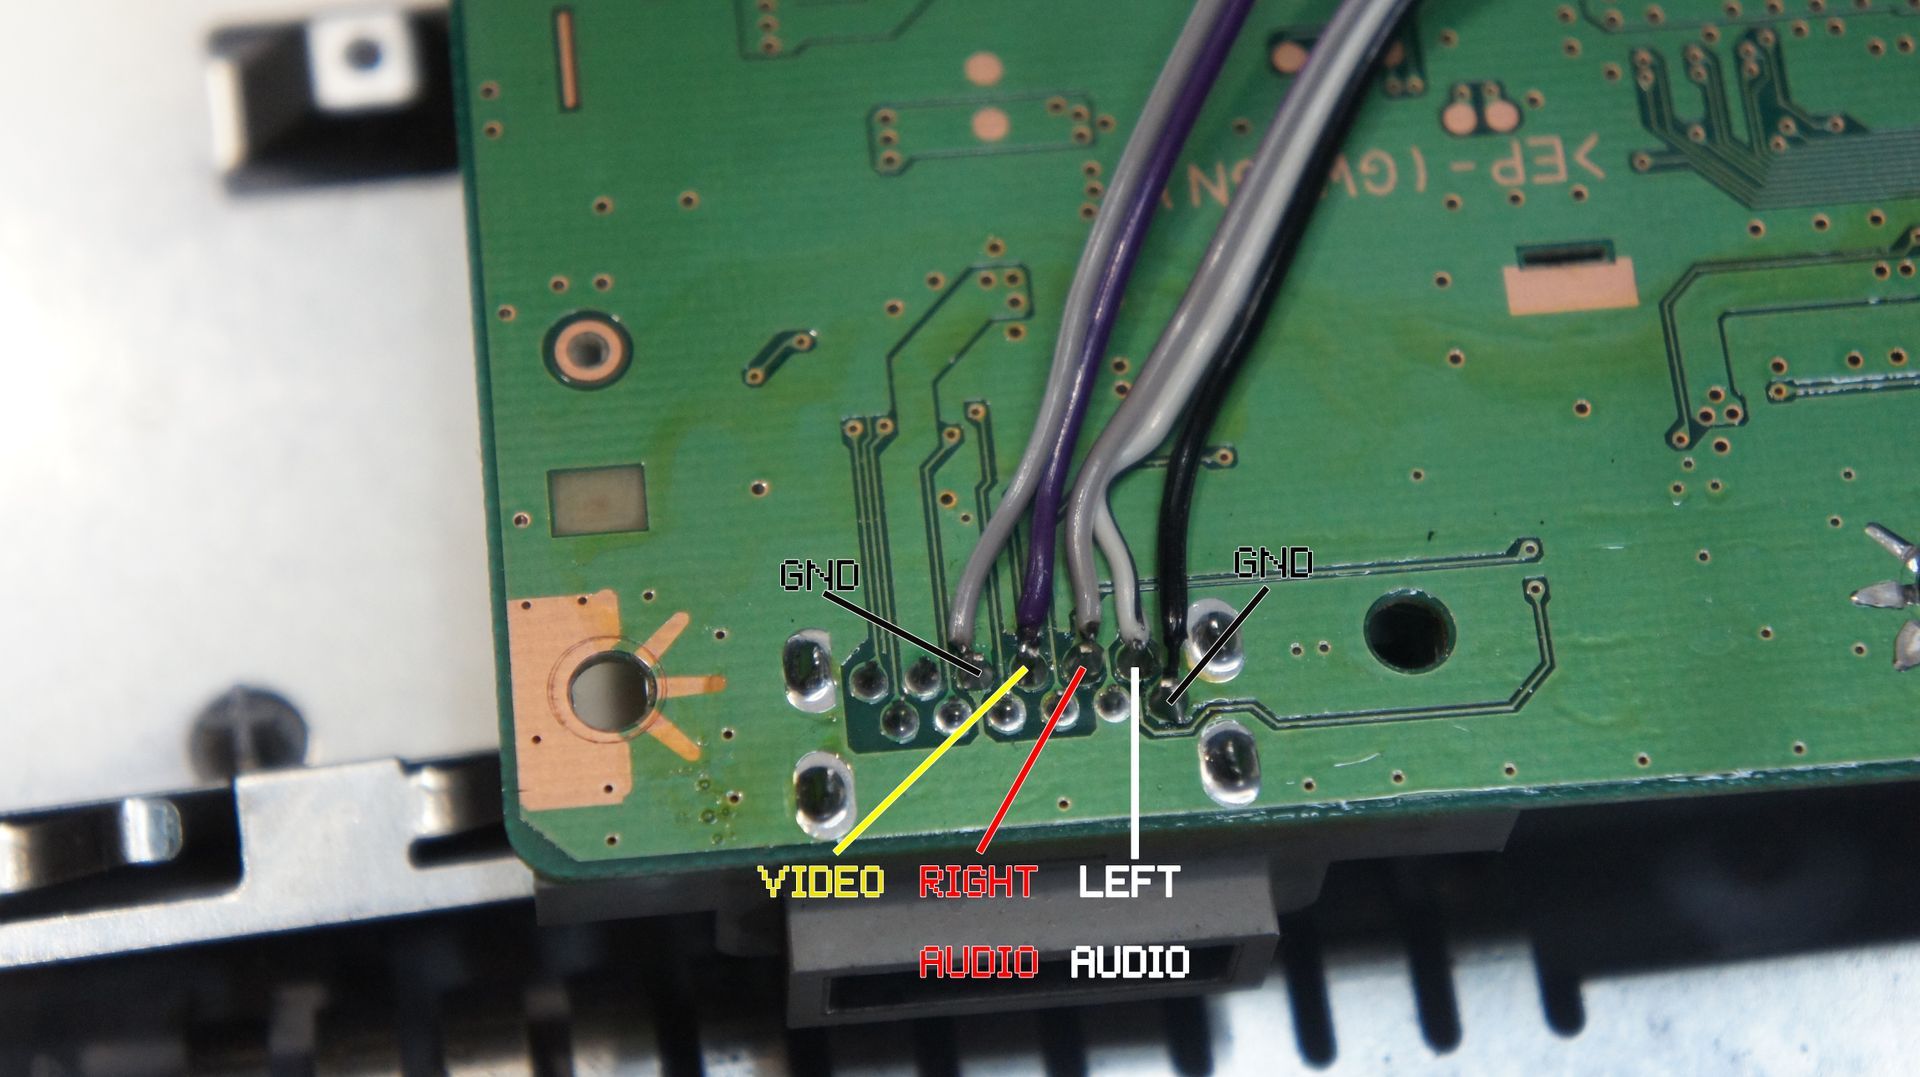
With the shielding put to one side go ahead and remove the mother board entirely by removing the few screws on the connectors at the back. This is where I like to add my own composite video and audio outputs so you dont have to rely on the old AV multi connector. It just makes for a cleaner setup in a video art / VJ rig.
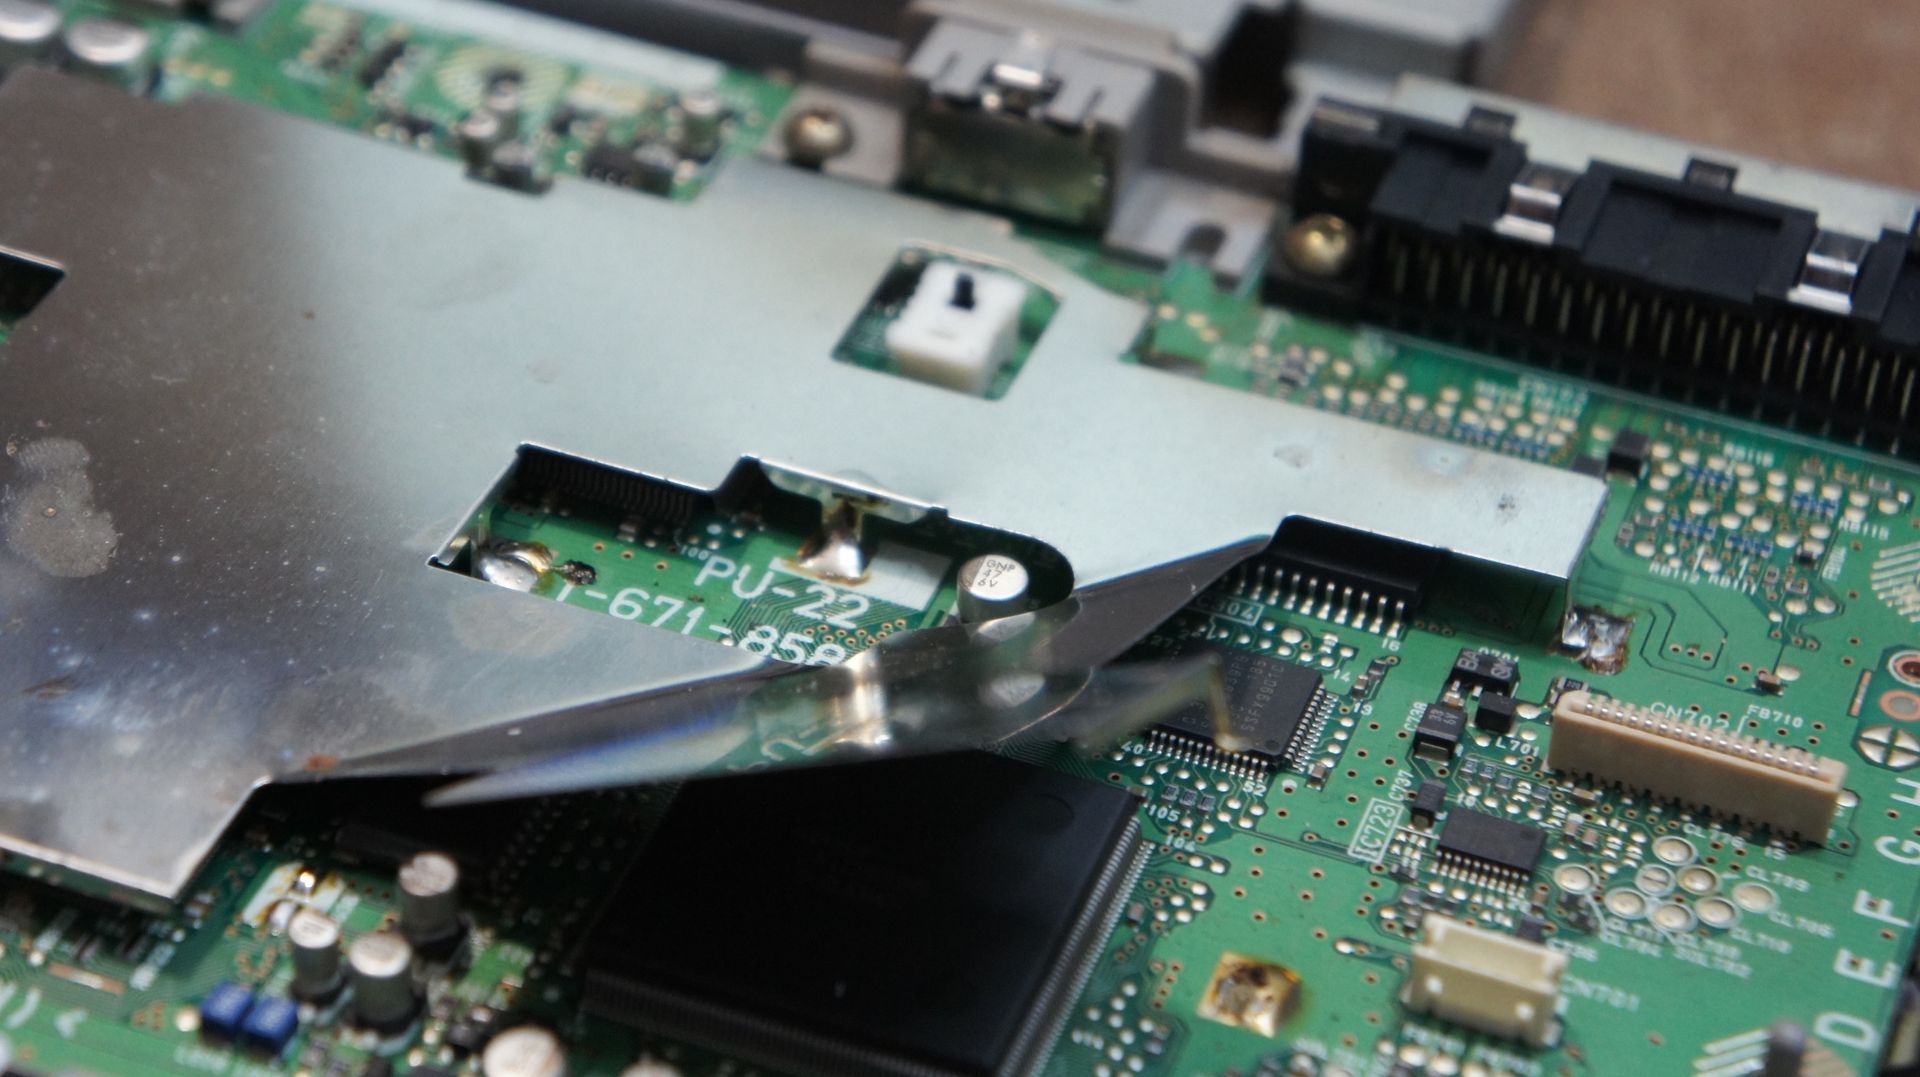
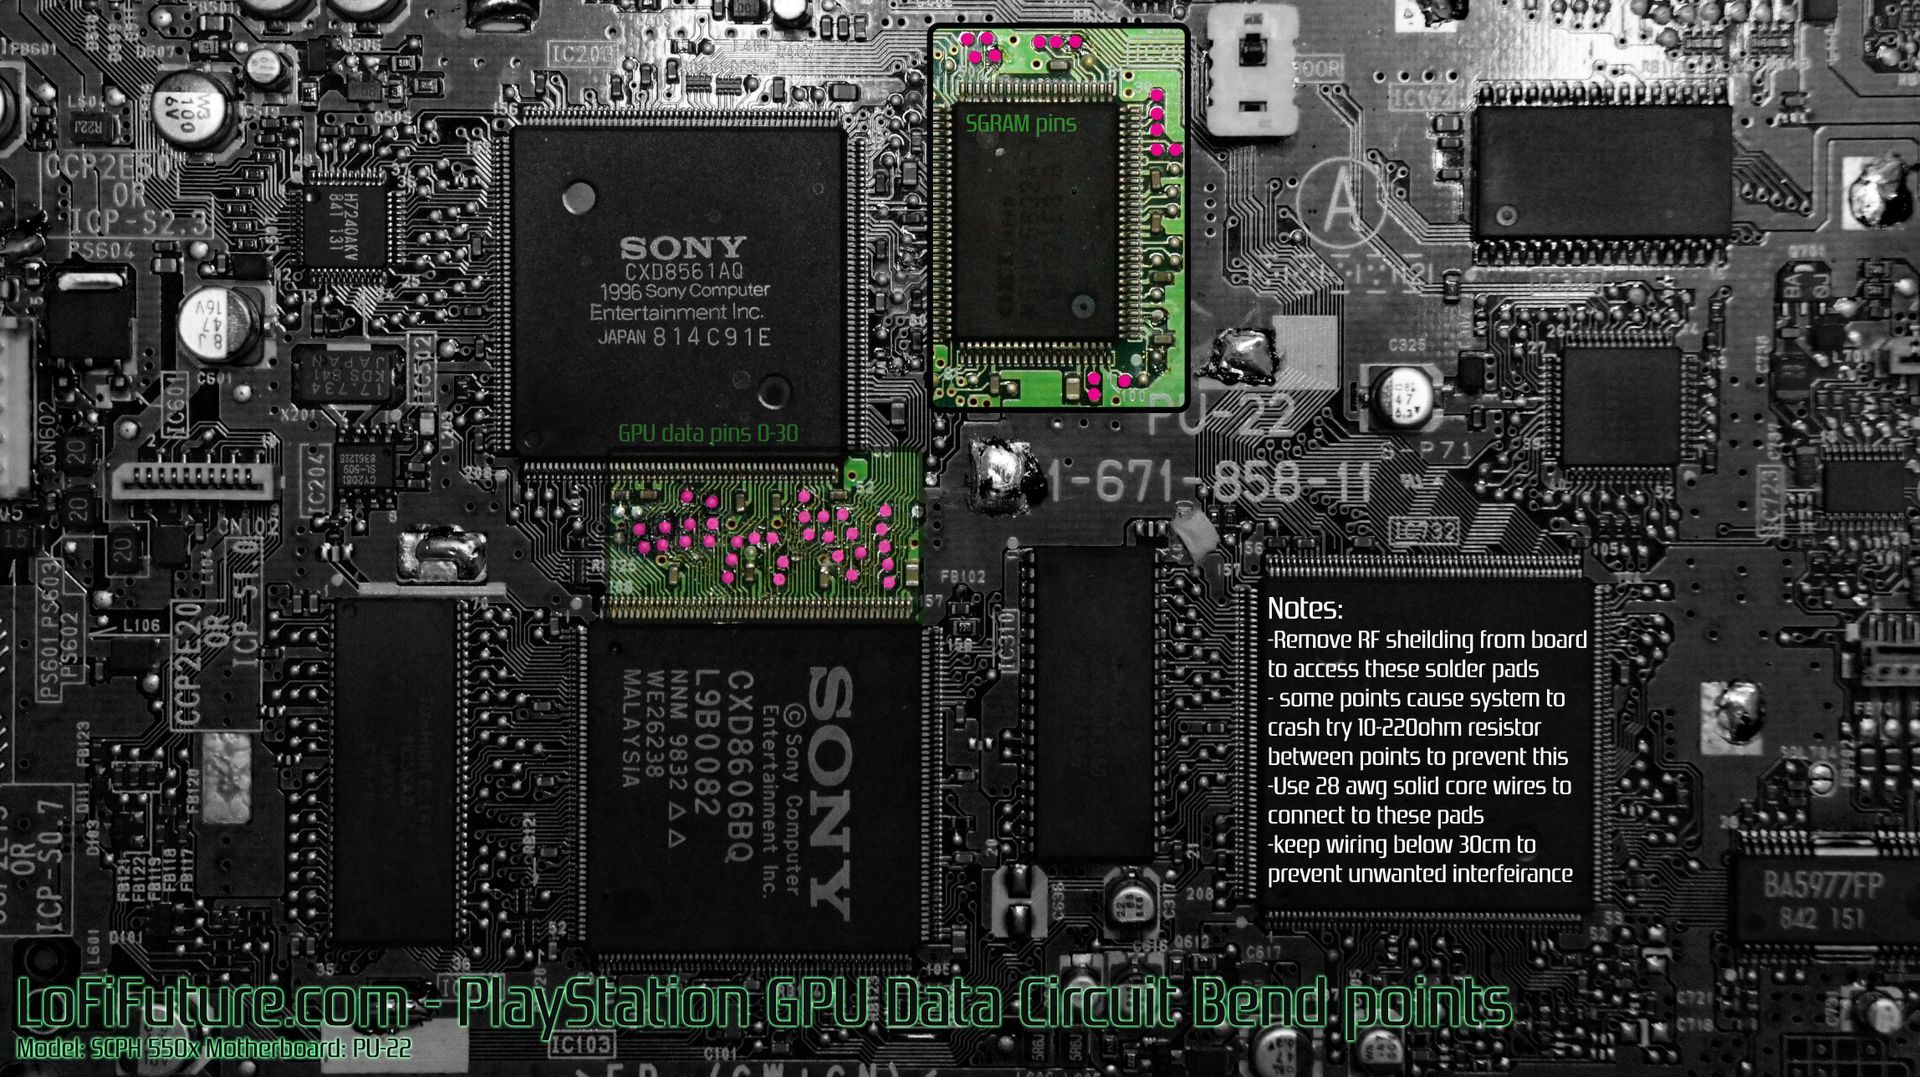
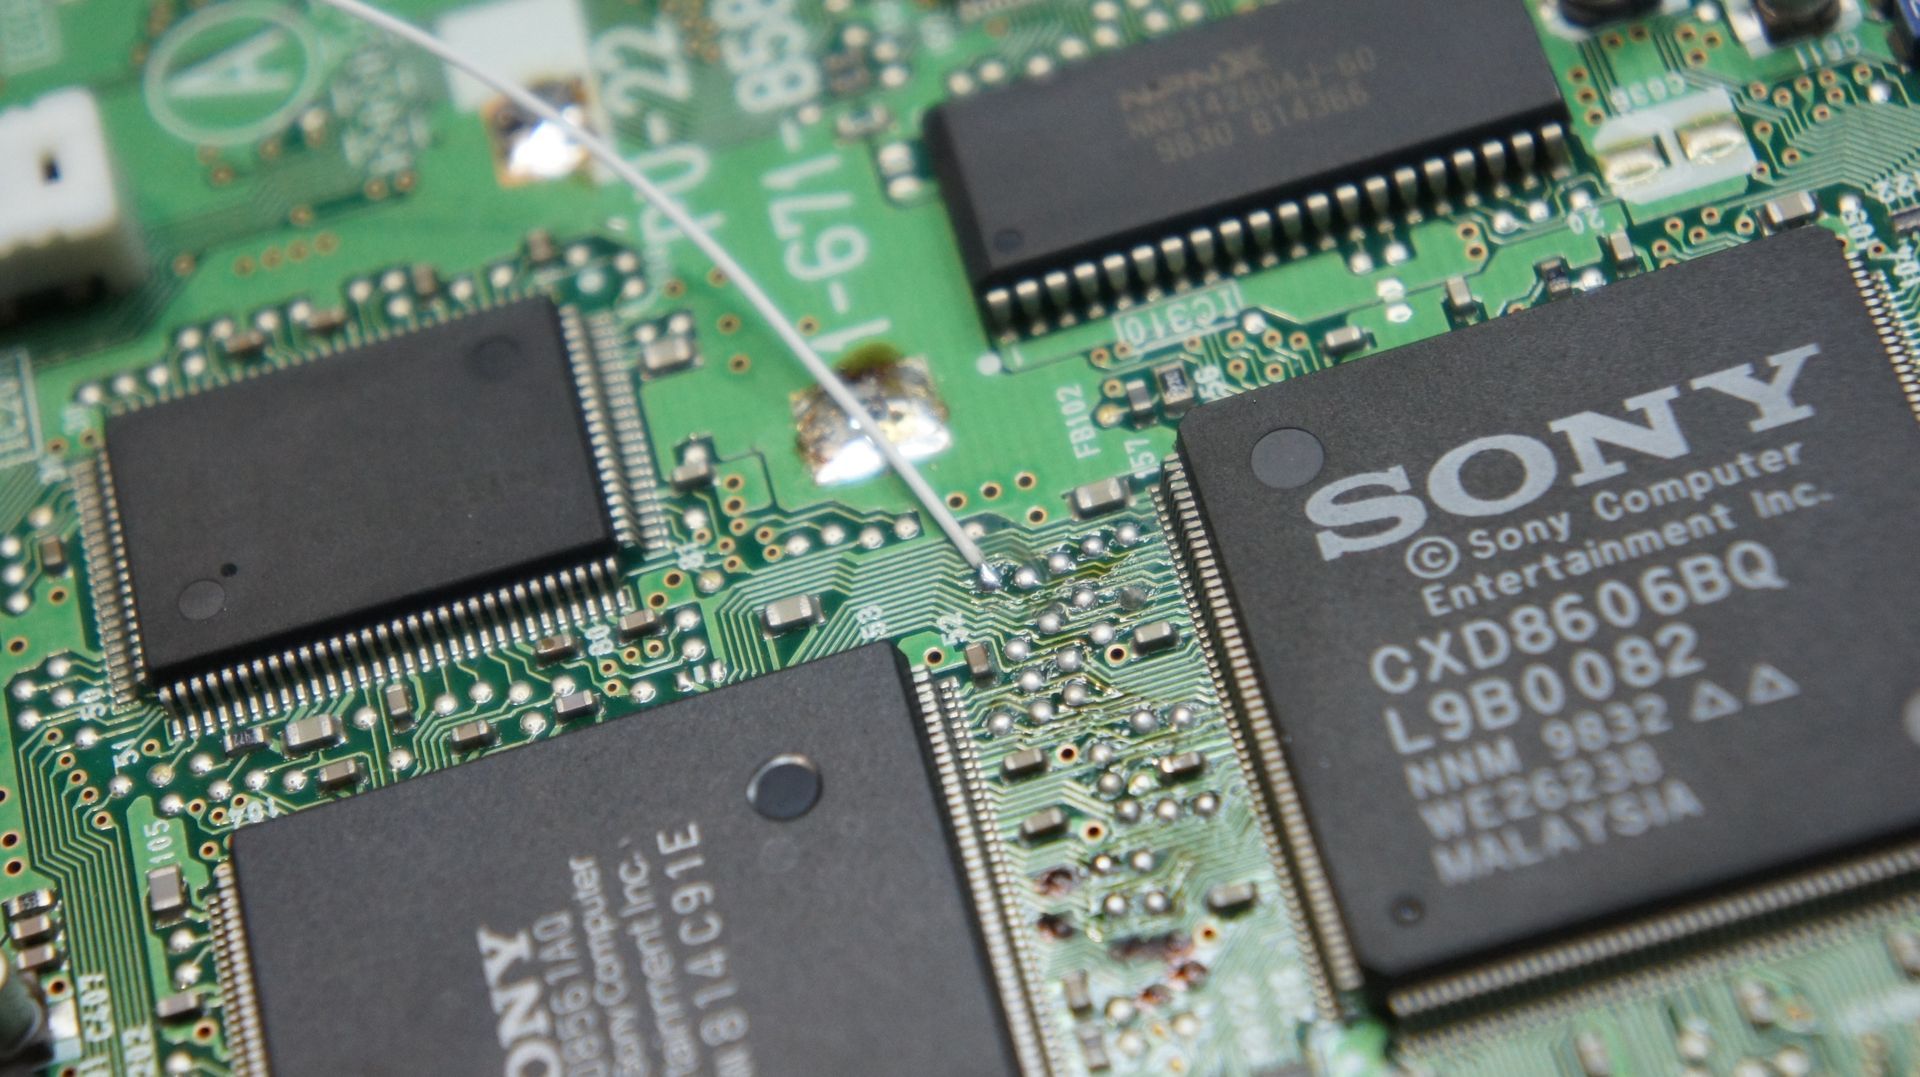
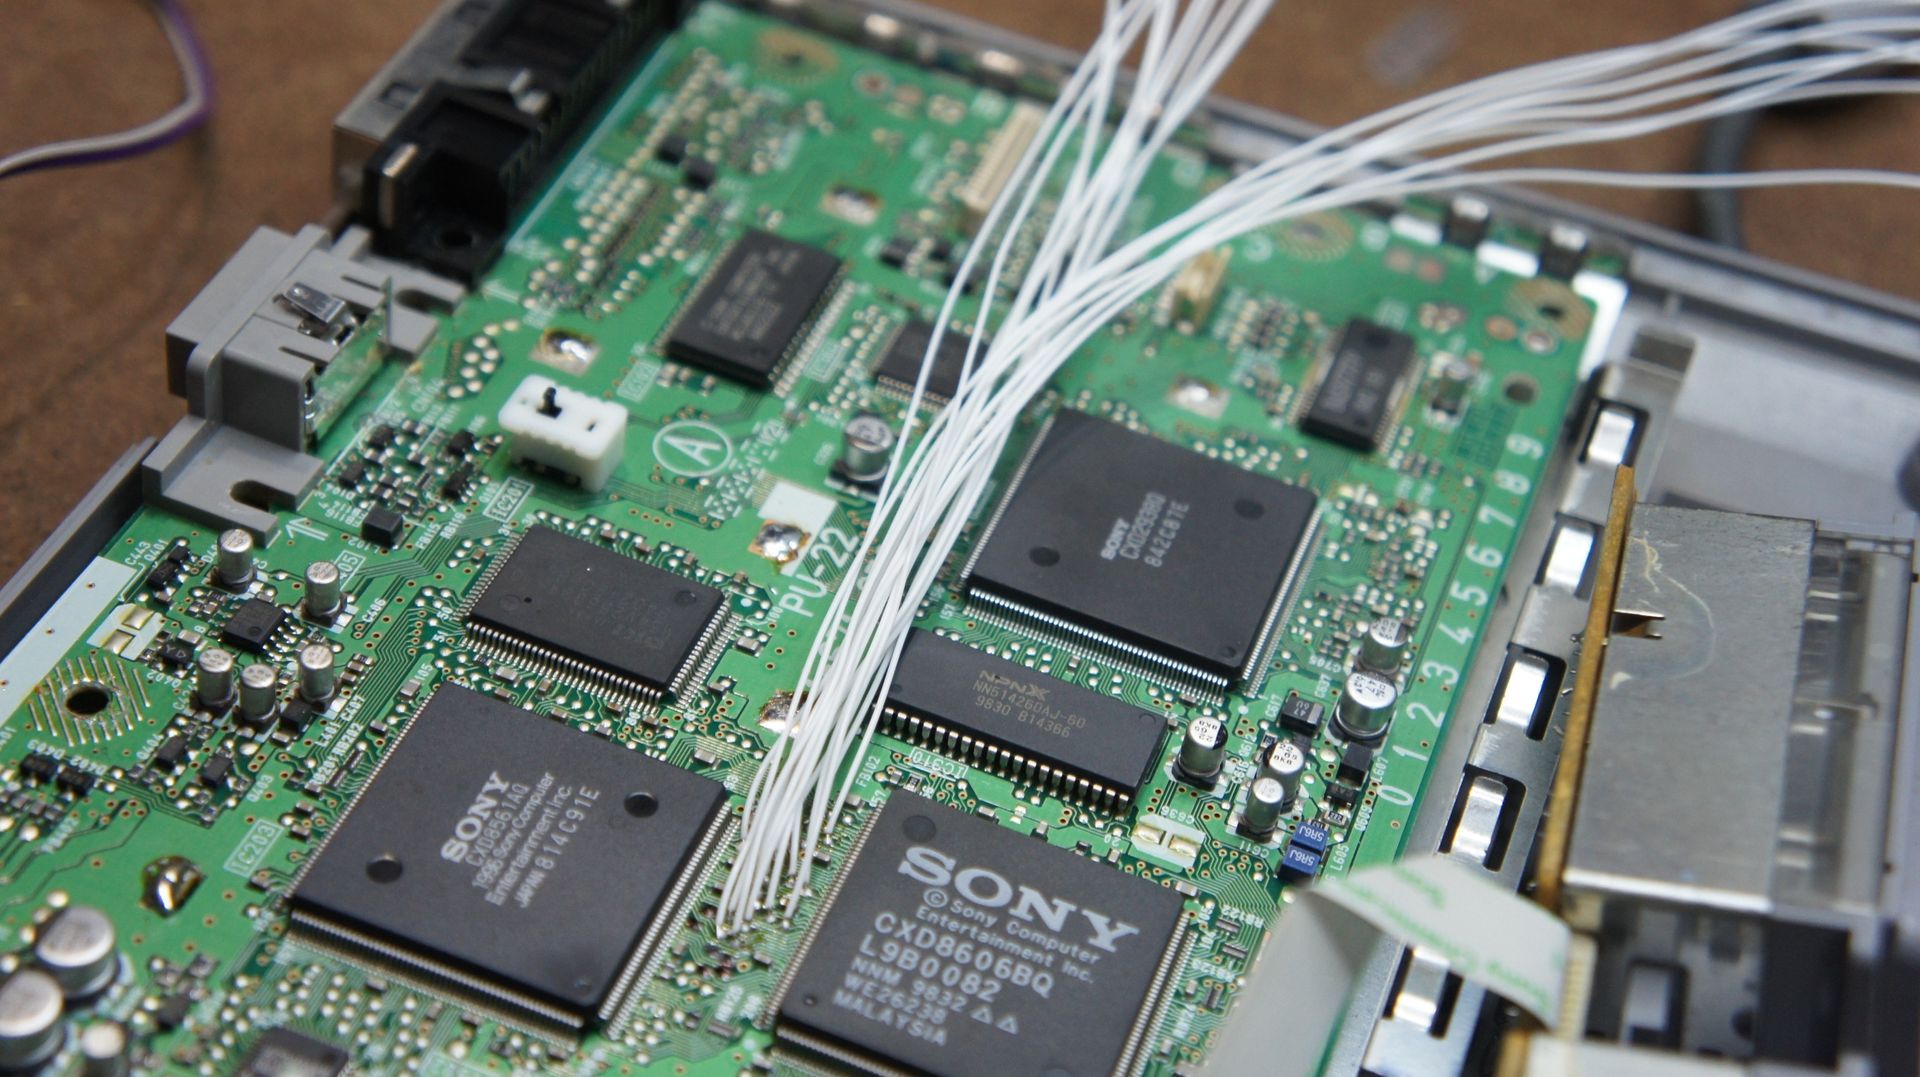
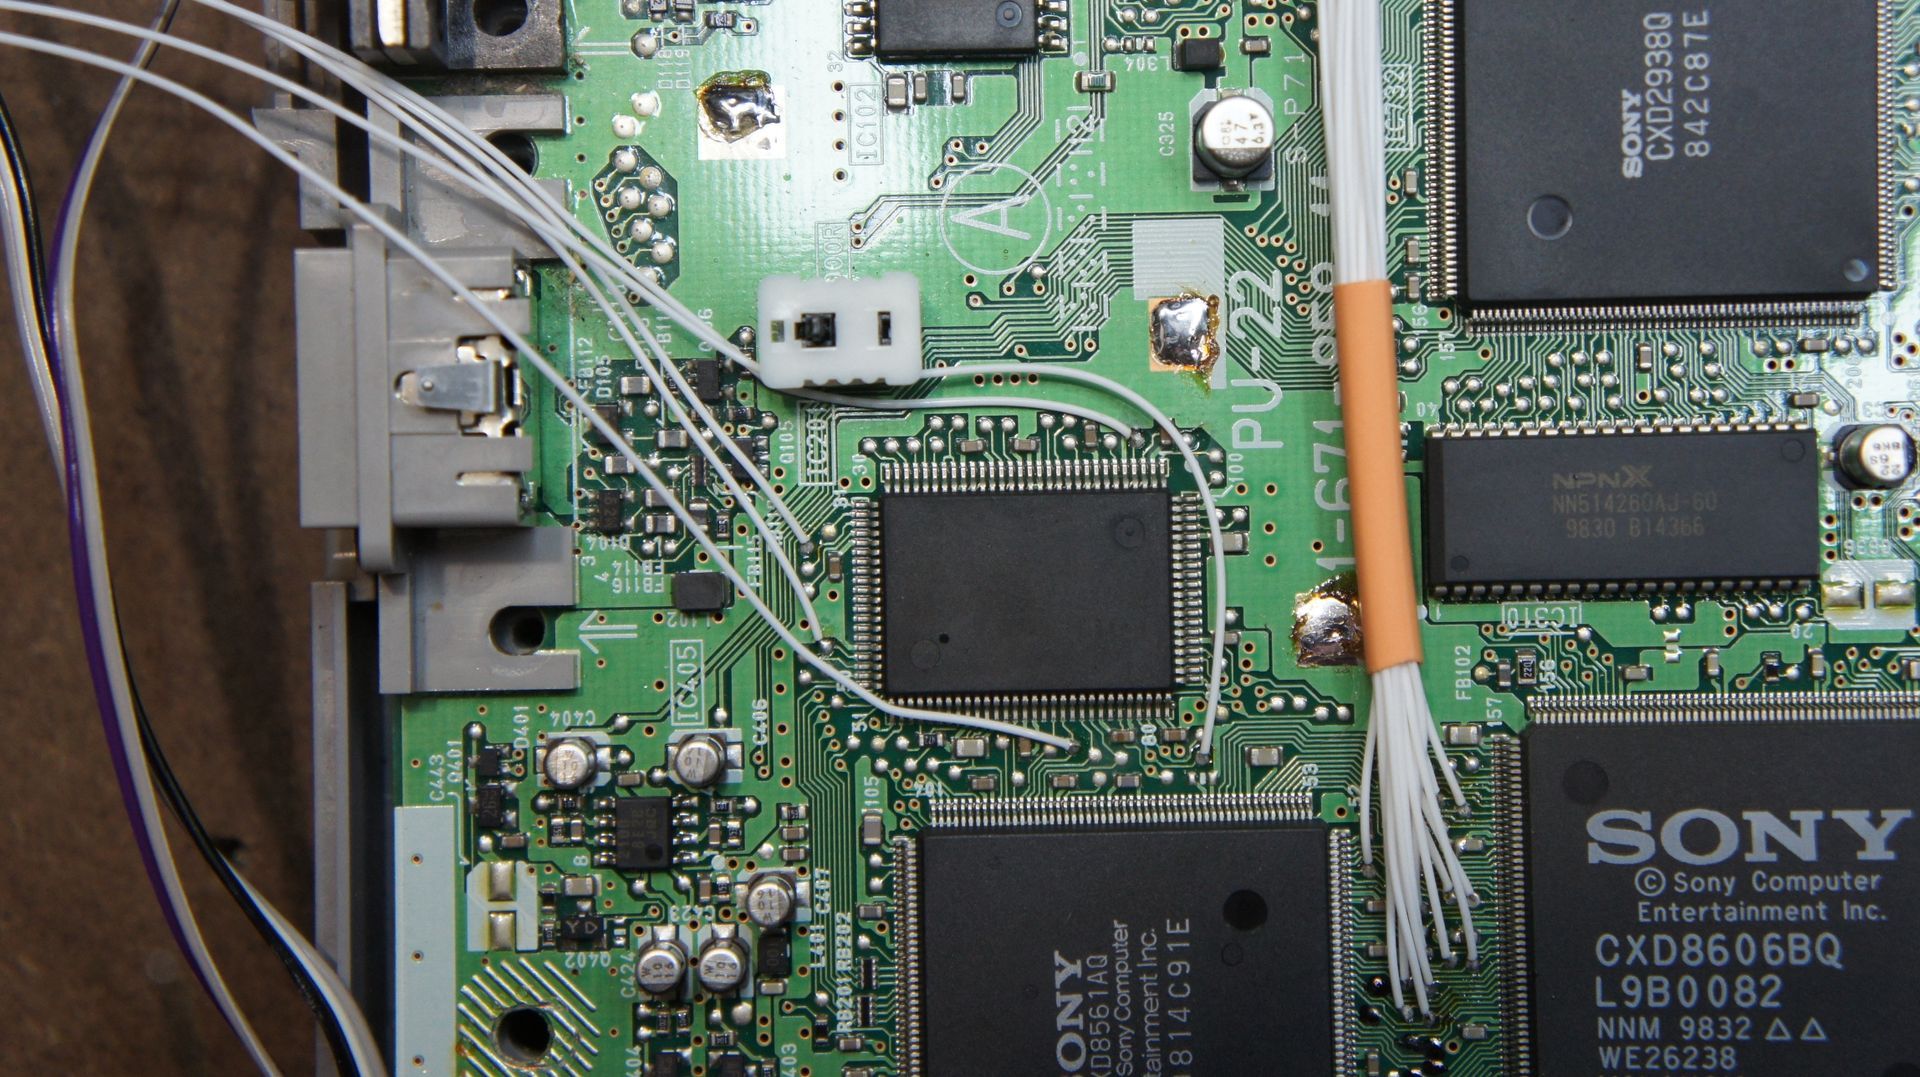
Now we are ready to solder our wires to the motherboard. The best part about this mod is how easy it actually is. Sony produced these boards with huge, well spaced out test points (presumably for "bed of nails" testing in the factory)
Just tin these points with some new solder and solder your new wires in. Take extra care once you have soldered to these pads though not to move the wire around too much and lift the pad up. I eventually heat shrink my wires together then super glue the outer of the heat shrink to a bit of the PCBs ground plane. This means if a wire needs to be replaced its easy enough but it also keeps them very secure.
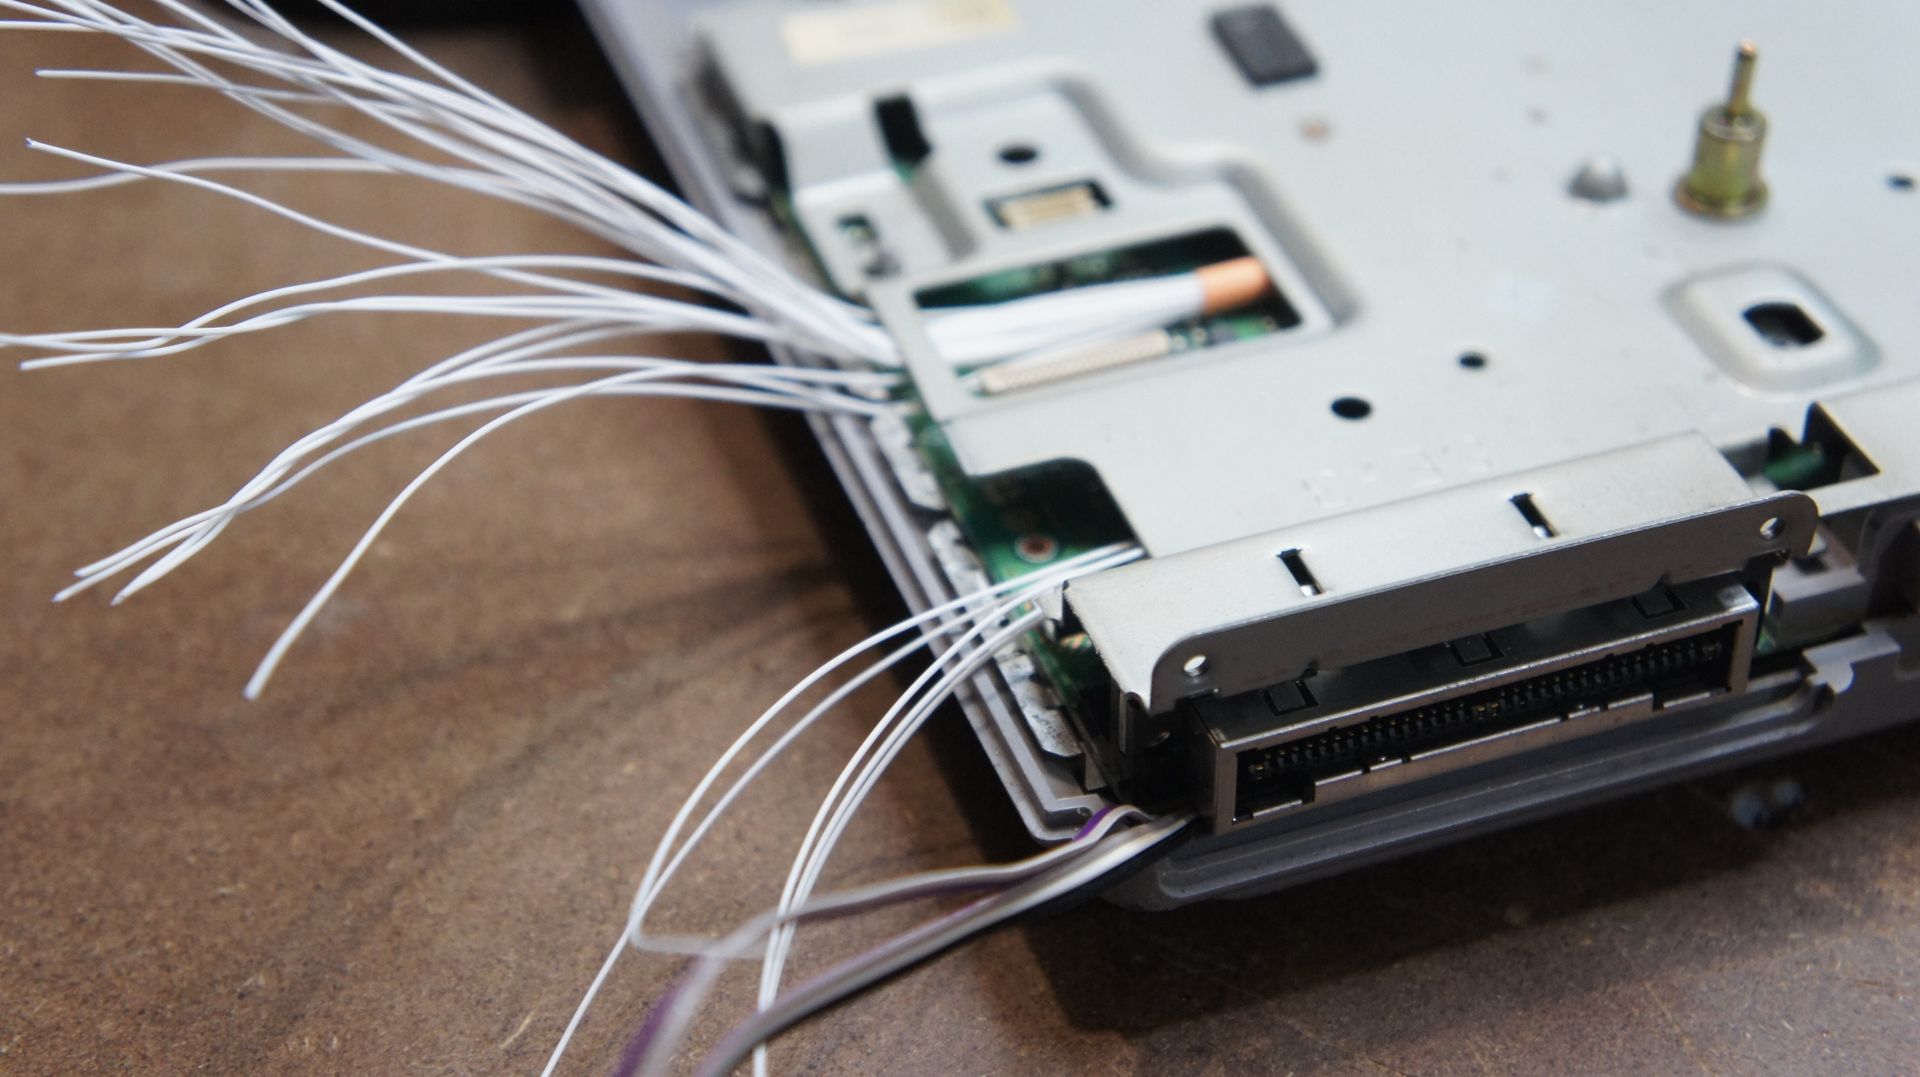
Once the wires are soldered in we need to route them through the console so they can reach our interface on the top of the unit. To do this it may be necessary to remove a small piece from the metal chassis that holds the optical drive in place.
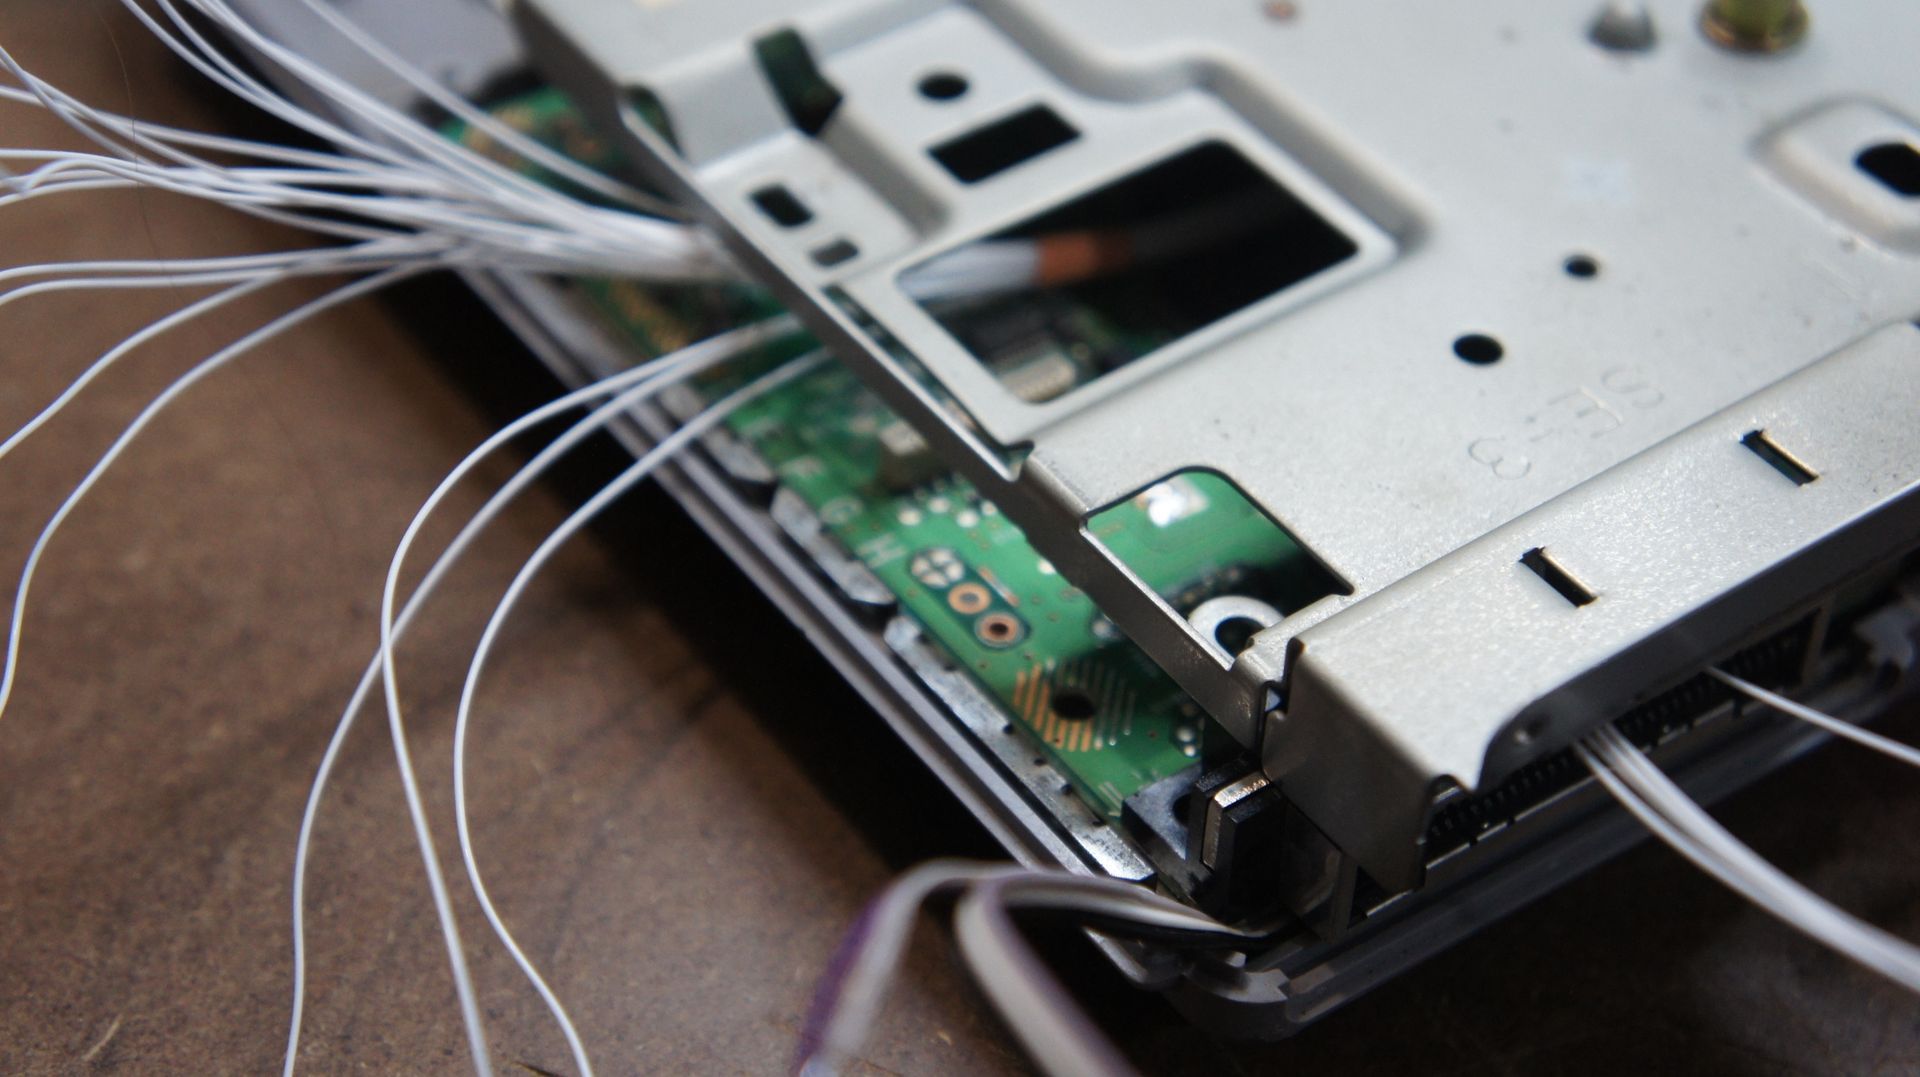
To do this I use some side cutters to cut this small section of metal out. the metal is quite soft so it is pretty easy.
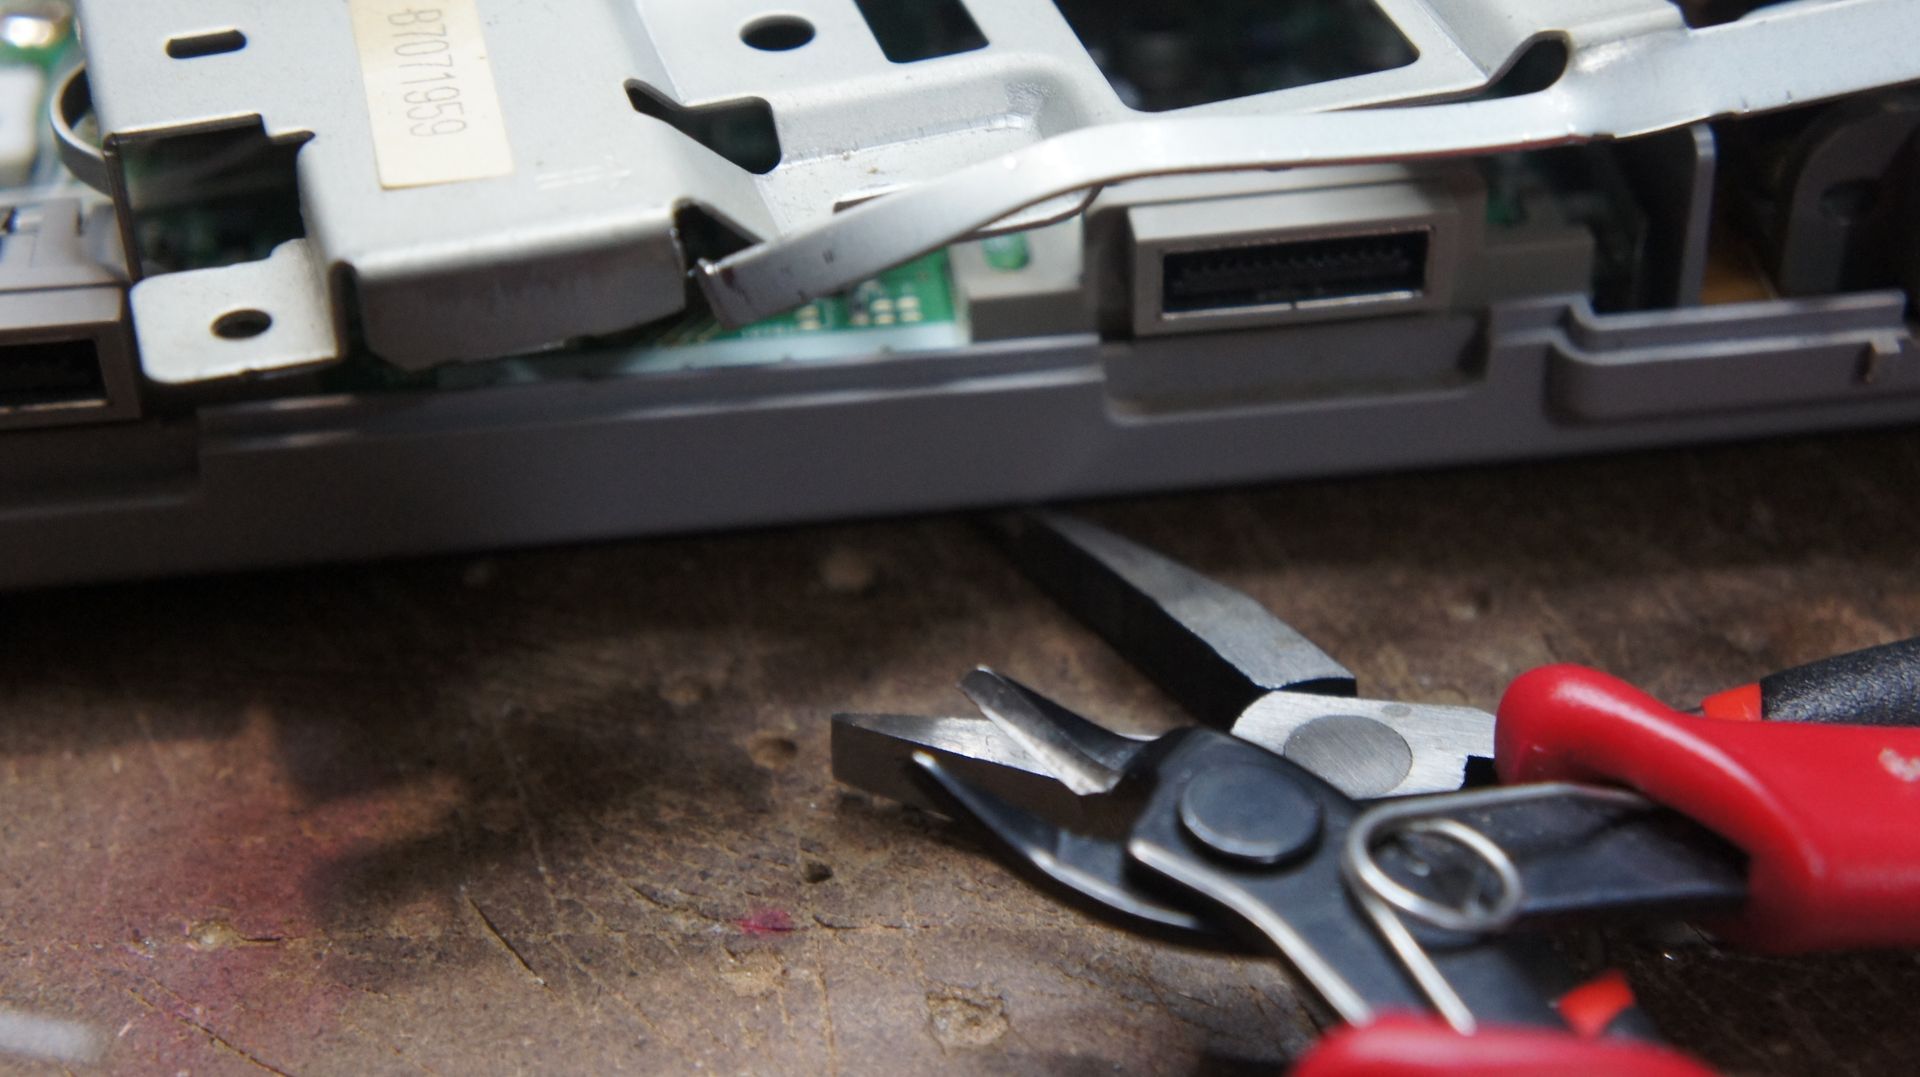
Remember to file down the edges so you dont leave any sharp edges that could hard the insulation on the wires we have added.
Now there is plenty of room for the wires to fit! at this point I test the console without the optical drive just to make sure we haven't created any shorts or damaged the motherboard.
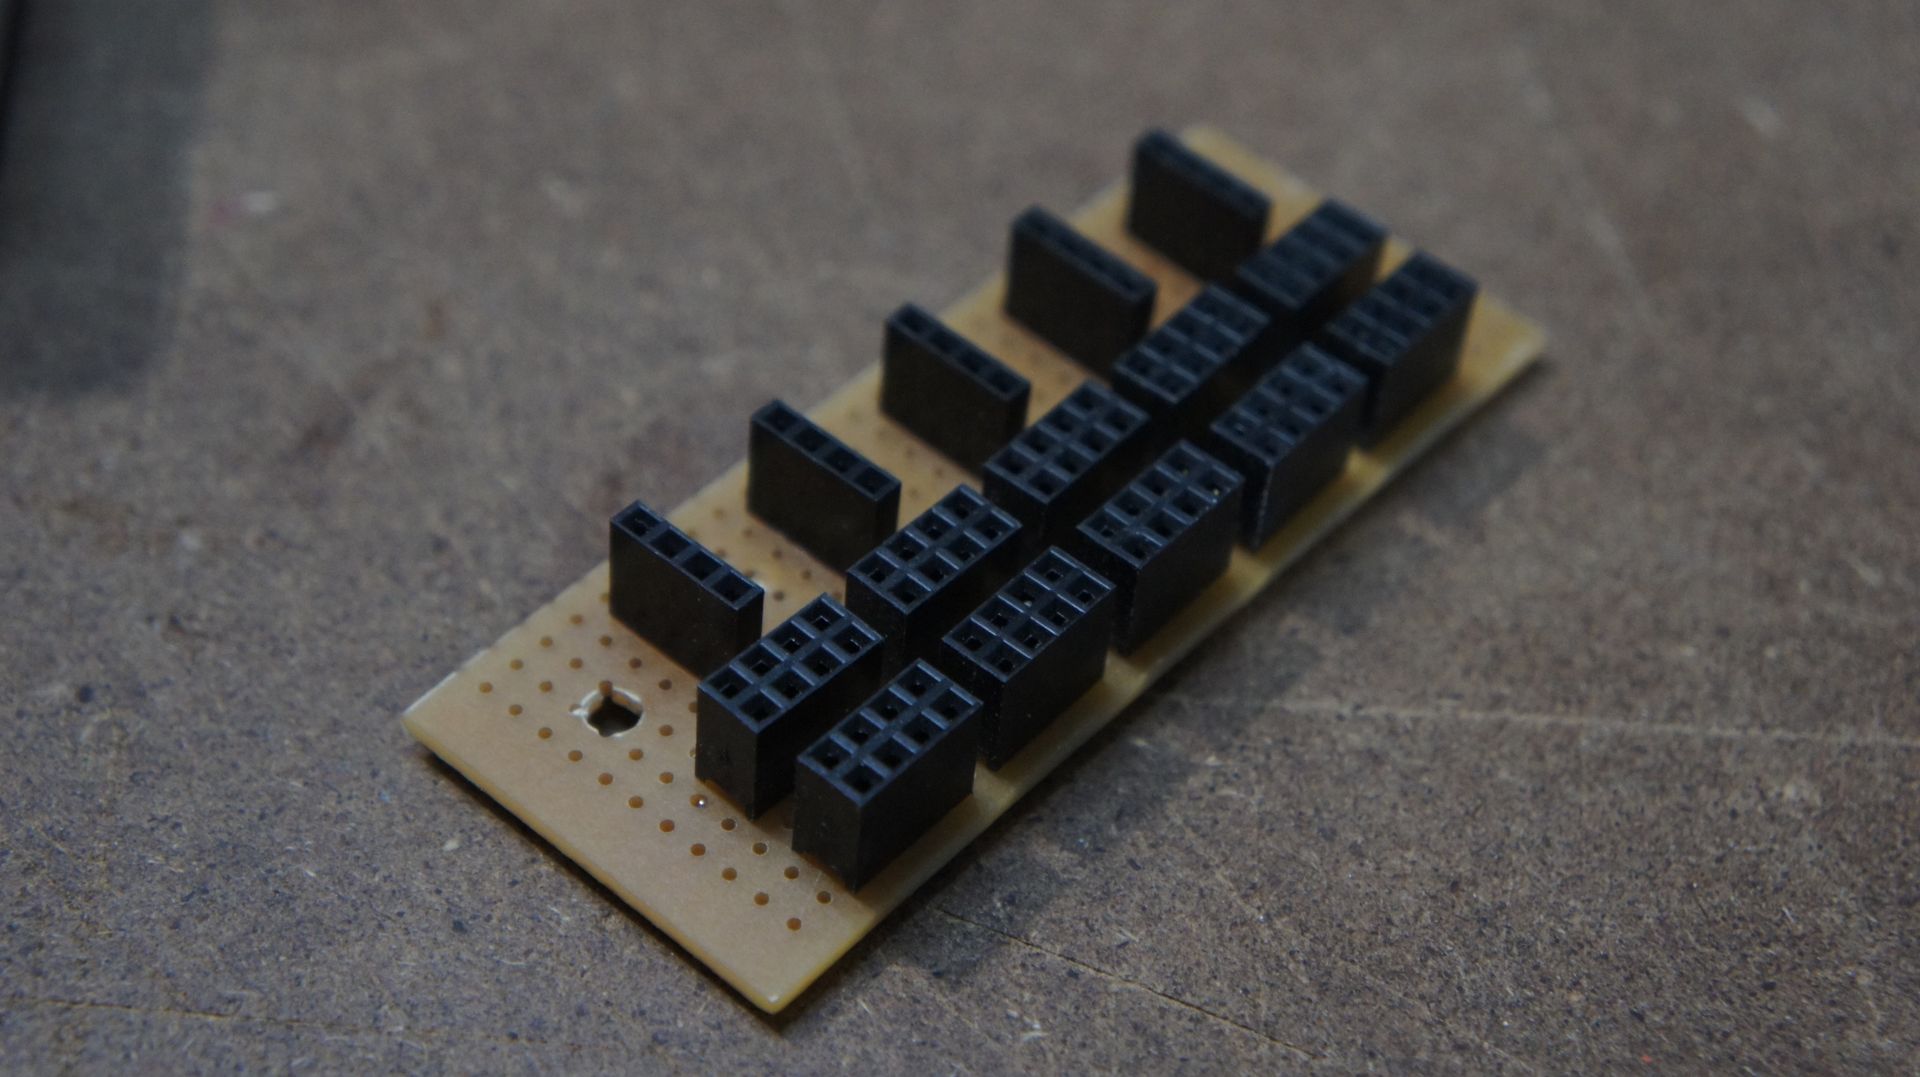
Now it is time to start wiring in the interface. Like i previously mentioned this can be switches, potentiometers, vactrols, a patchbay, the choice is yours!
For this tutorial I am opting for a compact patch bay, simply because this was more of a development console used to choose my favourite effects from what is possible as there are quite a lot and some may cause crashes while others never do!
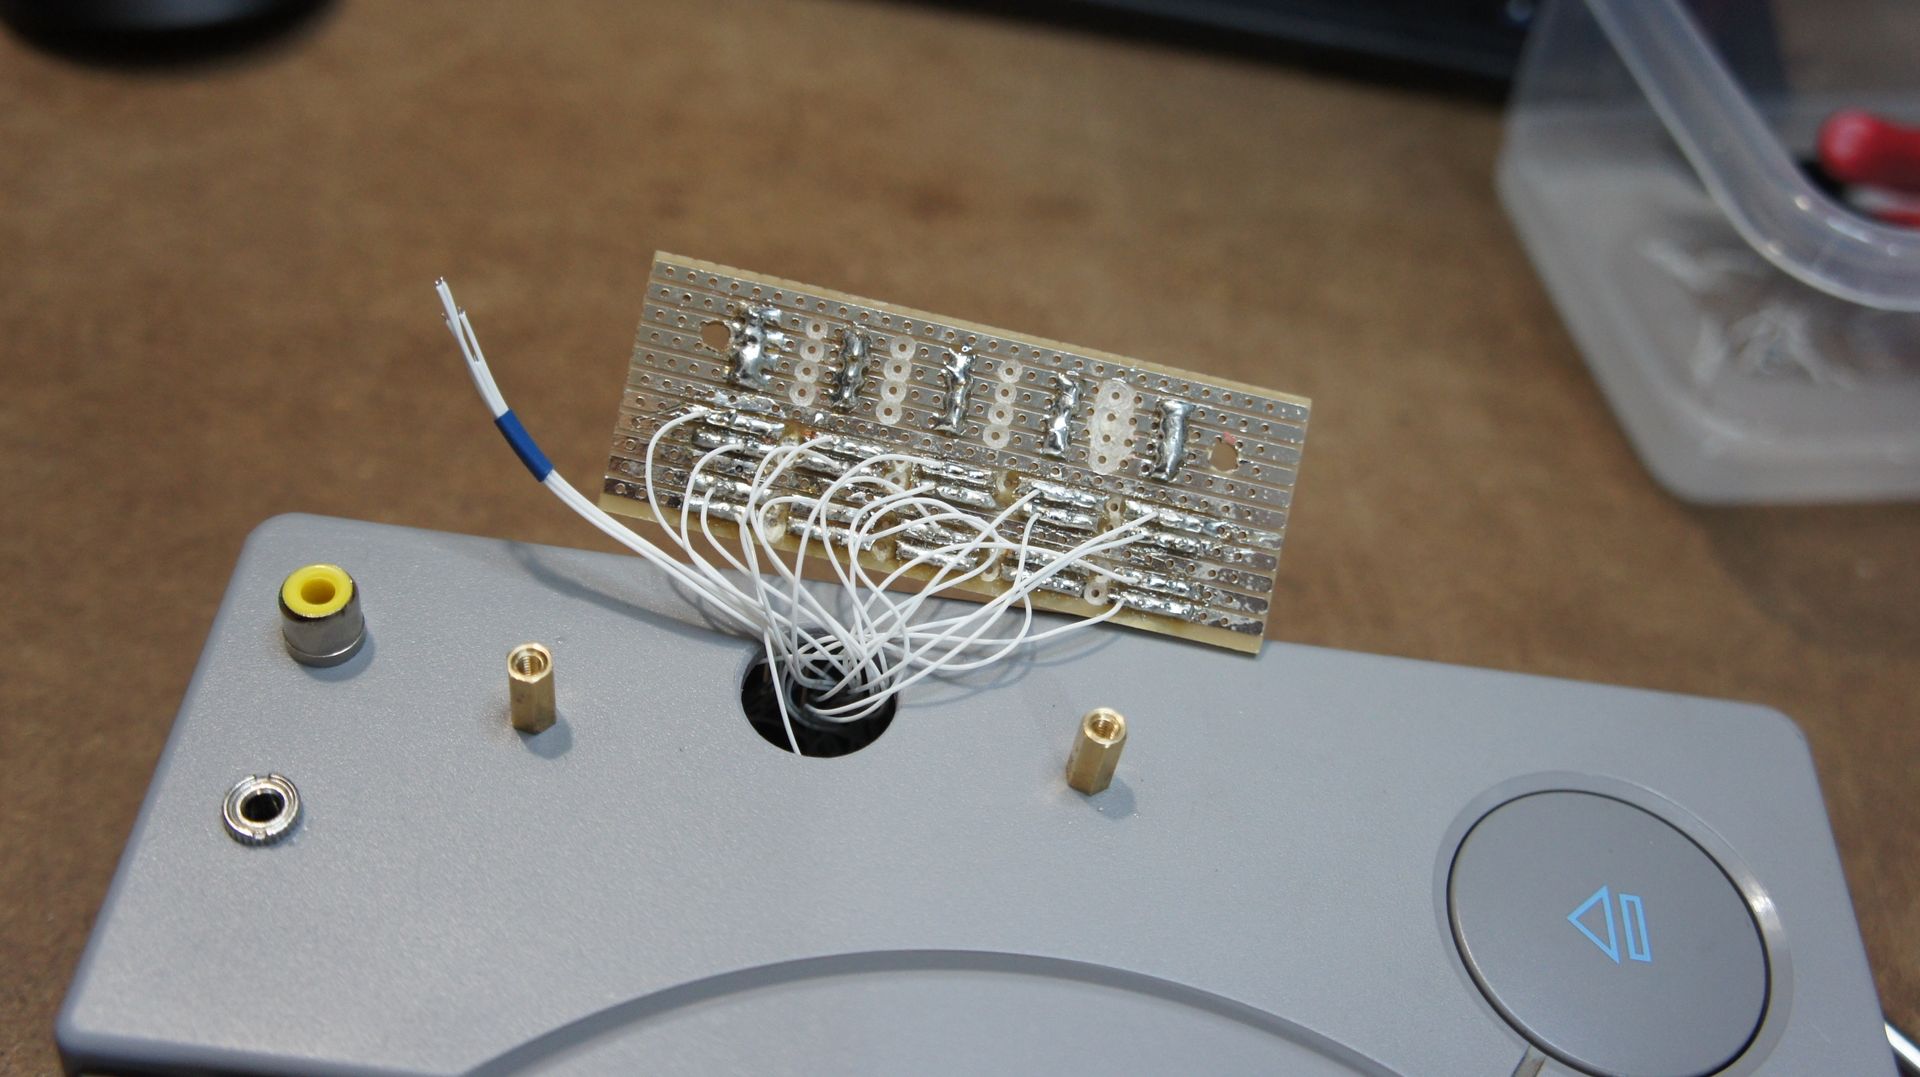
Holes drilled in the enclosure for the new hardware.
Soldering the bend wires onto the patch bay.
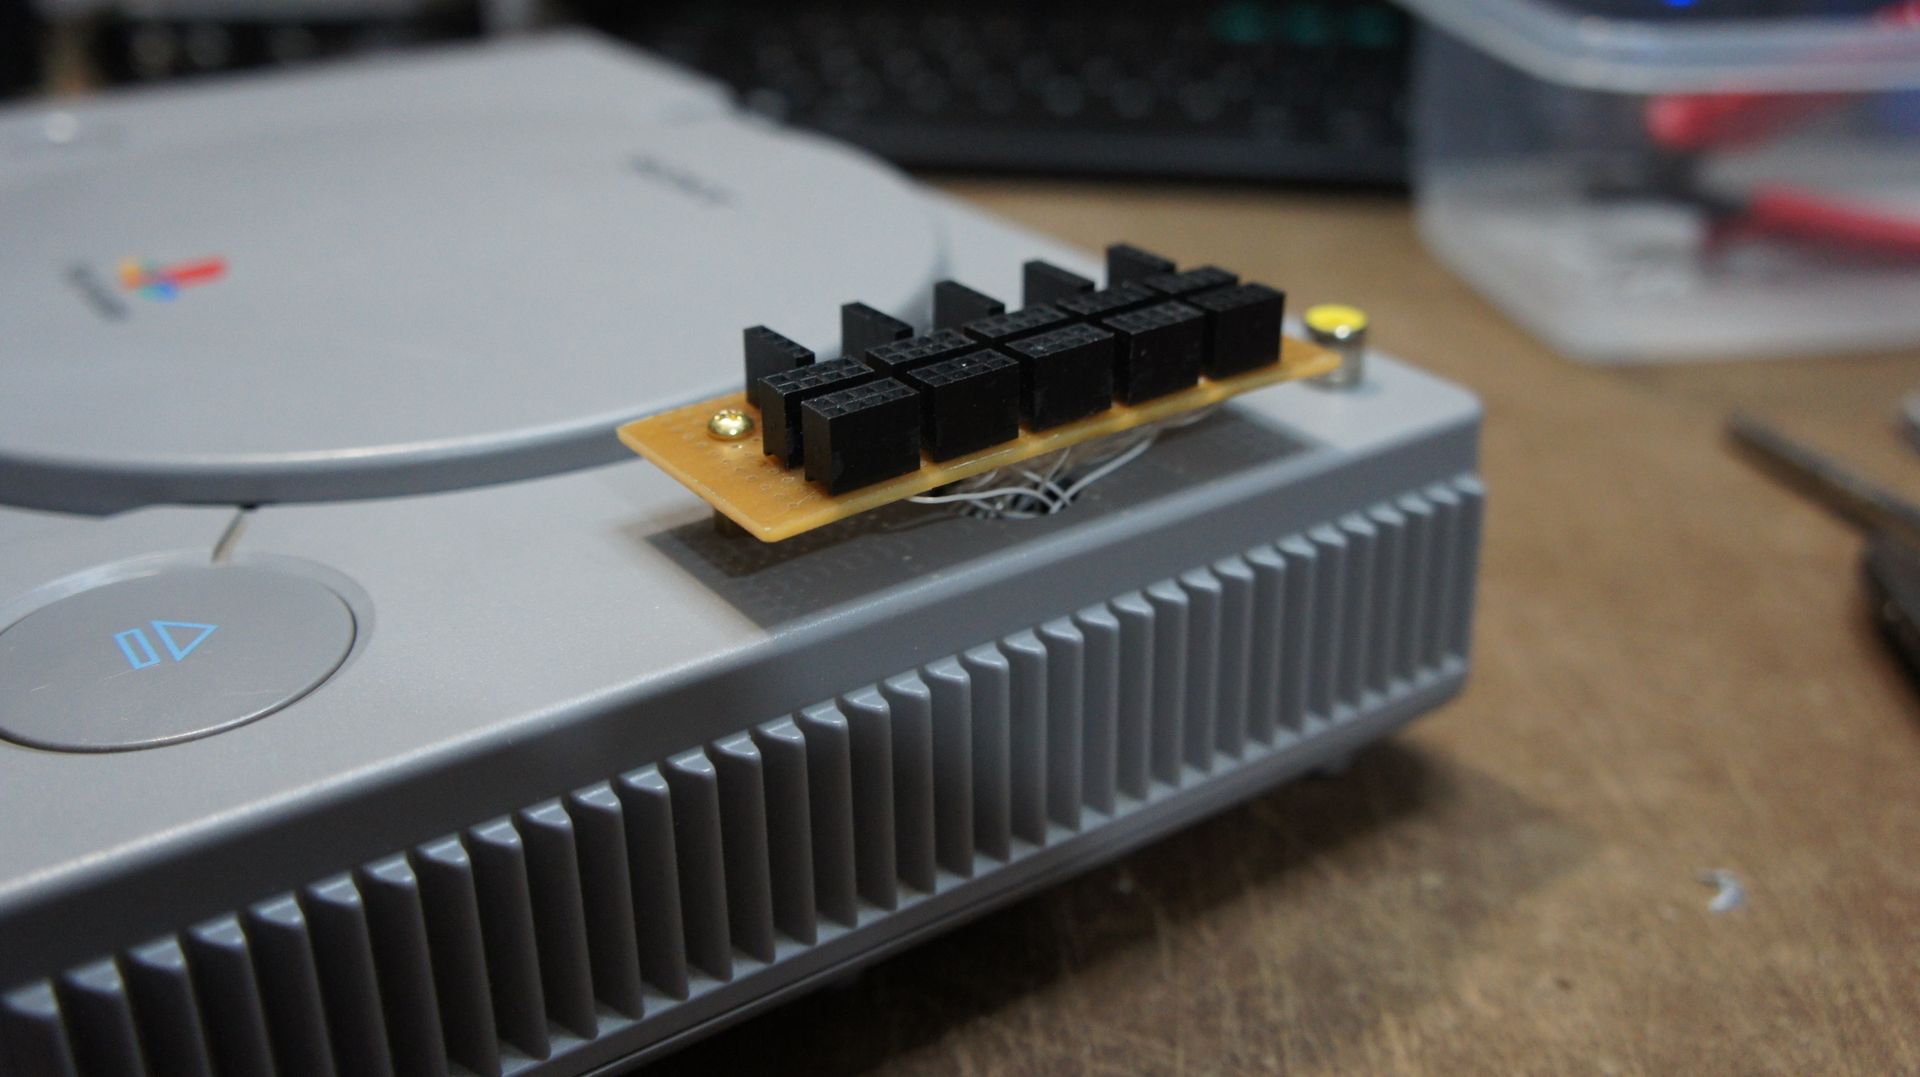
All finished!
That's it for this tutorial, I hope you enjoy modding your own console. And stay tuned for the PS2 tutorial coming soon!